
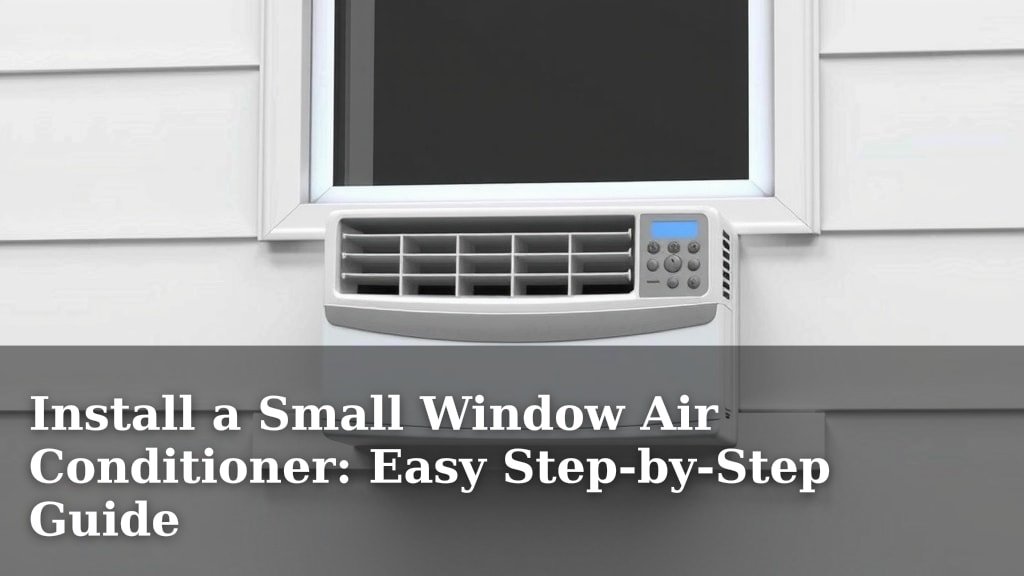
Install a Small Window Air Conditioner: Easy Step-by-Step Guide
Installing a small window air conditioner yourself is a manageable DIY project for most homeowners. You can effectively cool your space by following a few key steps. This guide will walk you through the process, ensuring your new AC is secure and efficient.
Getting this right means a cooler home and less worry about damage. It’s smart to understand the support needed for the unit and how to create a tight seal. Many find that with the right preparation, it’s much simpler than they thought.
- Measure your window opening carefully.
- Gather necessary tools and materials.
- Prepare the window for the AC unit.
- Install the air conditioner securely.
- Seal any gaps around the unit.
Let’s walk through exactly how to install your window AC step by step so you can enjoy a cool breeze in no time.
Getting Your Window AC Installed Safely
Installing a window air conditioner yourself is totally doable. You just need to know a few things. We’ll guide you through it step-by-step. Getting this right means a cooler home and less worry about damage. Many find that with the right preparation, it’s much simpler than they thought.
Step 1: Measure and Prepare Your Window Space
Before you even think about lifting the AC, you need to measure. This is super important. You don’t want to buy an AC that won’t fit your window, right?
Accurate Window Measurements
Carefully measure the width and height of your window opening. You’ll need the inside dimensions. Many AC units come with specific size requirements. Your unit’s manual will tell you exactly what dimensions to check for. For example, some units need a minimum height of 15 inches. Others might need a width of at least 23 inches. Always double-check these measurements against your window. It’s better to measure twice and buy once.
Choosing the Right Window
Not all windows are created equal for AC installation. Double-hung windows are usually the easiest. These are windows that slide up and down. Casement windows, which crank open, can be trickier. You might need a special bracket kit for those. Some experts suggest avoiding windows that face direct, harsh afternoon sun. This can make your AC work harder than it needs to. Consider which room gets the hottest. That’s usually the best place for your new AC.
Gathering Your Tools and Materials
Having everything ready will make the process smooth. You wouldn’t start building furniture without screws, would you? Here’s a quick rundown of what you’ll likely need:
- The air conditioner unit itself
- The included installation guide and hardware
- A sturdy Phillips head screwdriver
- A level
- Measuring tape
- A drill with appropriate bits (if needed for mounting hardware)
- Weather stripping or foam insulation
- Safety glasses and gloves
- Possibly a second person to help lift the unit
Step 2: Preparing the Window and AC Unit
Now that you know your measurements, it’s time to get the window ready. Think of it like preparing a stage for a performance.
Cleaning the Window Area
Clean the windowsill and the window frame. Remove any dirt, debris, or old caulk. A clean surface helps the AC sit snugly. It also ensures a better seal later on. You can use a damp cloth for this. For tougher grime, a mild cleaner might be helpful. Just make sure it’s fully dry before proceeding.
Preparing the AC Unit’s Components
Unpack your air conditioner carefully. Check the box for all included parts. You’ll usually find side curtains or panels. These help fill the gaps in your window frame. Read the unit’s specific instructions for attaching these. Sometimes they slide into grooves on the AC unit. Other times, they might need screws. Don’t skip this step; these panels are key to an efficient installation.
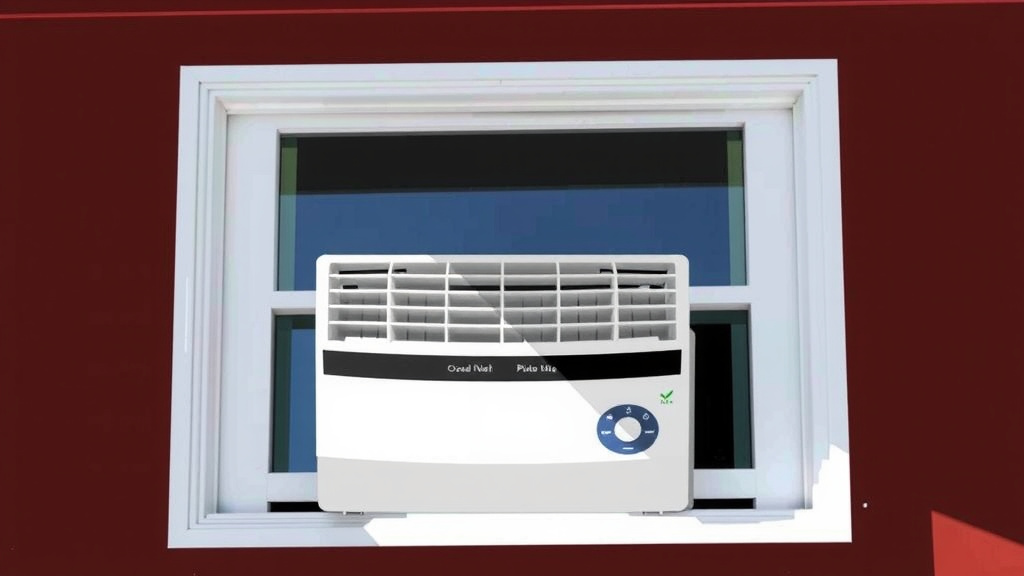
Step 3: Installing the Air Conditioner
This is the big moment! With your window prepped and your AC ready, you’re set to install. Remember, safety first!
Positioning the Unit in the Window
This is where a second person is a real lifesaver. Window AC units can be heavy and awkward. Gently lift the unit and place it on the windowsill. It should sit level or slightly tilted outward. A slight downward tilt towards the outside helps drain condensation. Most units have a built-in tilt or you can use shims to achieve this. Check your manual for the recommended tilt. A good level is your best friend here.
Securing the Unit with Brackets and Screws
Your AC should come with mounting hardware. This might include support brackets or screws. These are vital for keeping the unit secure. They prevent it from falling out. Follow the manufacturer’s instructions closely. Some kits require drilling into the window frame. Others might use existing channels. Ensure all screws are snug, but don’t overtighten them. This could damage the window frame.
Extending and Attaching Side Panels
Now, attach those side curtains or panels you prepared earlier. Slide them into place. They should fit snugly against the window frame. These panels block outside air and prevent insects from getting in. They also contribute to the overall seal. Many panels have adjustable screws to fine-tune the fit. Make sure there are no large gaps here. Small gaps can reduce efficiency.
Step 4: Sealing the Gaps for Maximum Efficiency
We’re almost there! The final step is sealing everything up. This is what keeps the cool air in and the hot air out. It’s like putting a cozy blanket around your AC.
Using Foam Insulation and Weather Stripping
Look for any remaining gaps. These might be at the top, bottom, or sides of the unit. You can use foam insulation strips or weather stripping to fill these. These materials are inexpensive and easy to find at hardware stores. Cut them to size and press them firmly into the gaps. This creates a much better seal than the panels alone. A good seal prevents drafts and helps your AC run more efficiently. This can even save you money on your electricity bill!
Checking for Stability and Leaks
Once everything is sealed, give the unit a gentle push. It should feel solid and stable. It shouldn’t wobble or sag. Check the inside and outside for any obvious gaps you missed. A quick visual inspection can save you trouble later. You can also feel around the edges for drafts on a cool day to ensure a good seal.
| Task | Completed |
|---|---|
| Measured window opening correctly | |
| Gathered all necessary tools and materials | |
| Cleaned the window sill and frame | |
| Attached side panels to the AC unit | |
| Secured the AC unit with mounting hardware | |
| Sealed all gaps with foam or weather stripping |
Conclusion
You’ve successfully learned how to install your small window air conditioner! By carefully measuring, preparing your window and unit, and securing it properly, you’ve set yourself up for effective cooling. Remember to seal those gaps to maximize efficiency. This DIY approach saves you money and ensures your comfort throughout the warmer months. Now, go ahead and enjoy that cool, refreshing air you’ve worked to create!
Frequently Asked Questions
Can I install a window AC unit by myself, or do I need help?
Most small window AC units can be installed by one person, but having a second person can make the process much easier and safer, especially when lifting and positioning the unit. It helps prevent accidental drops or strain.
How much should the window AC unit tilt towards the outside?
Your unit’s manual will specify the exact tilt, but generally, a slight downward tilt of about 1/4 to 1/2 inch towards the outside is recommended. This allows condensation to drain properly and prevents water from pooling inside.
What if my window isn’t a standard double-hung type?
For casement windows or other non-standard types, you might need to purchase a special window AC mounting kit or support bracket. These kits are designed to create a secure and stable fit for different window styles.
How can I make sure the AC unit is truly sealed and not letting in air?
After installing the unit and its side panels, use weather stripping or foam insulation to fill any remaining gaps around the edges. Press these materials firmly into place. You can also do a quick test by feeling for drafts around the unit on a cooler day.
Will installing a window AC unit damage my window frame?
When installed correctly and following the manufacturer’s instructions, a window AC unit should not damage your window frame. Be careful not to overtighten screws, and ensure you’re using the provided hardware or appropriate replacements for a secure fit.


![7 Best Rated Home Central Air Conditioners [2026]](https://bathroomexplorer.com/wp-content/uploads/2026/06/7-best-rated-home-central-air-conditioners-2026-featured-768x432.jpg)