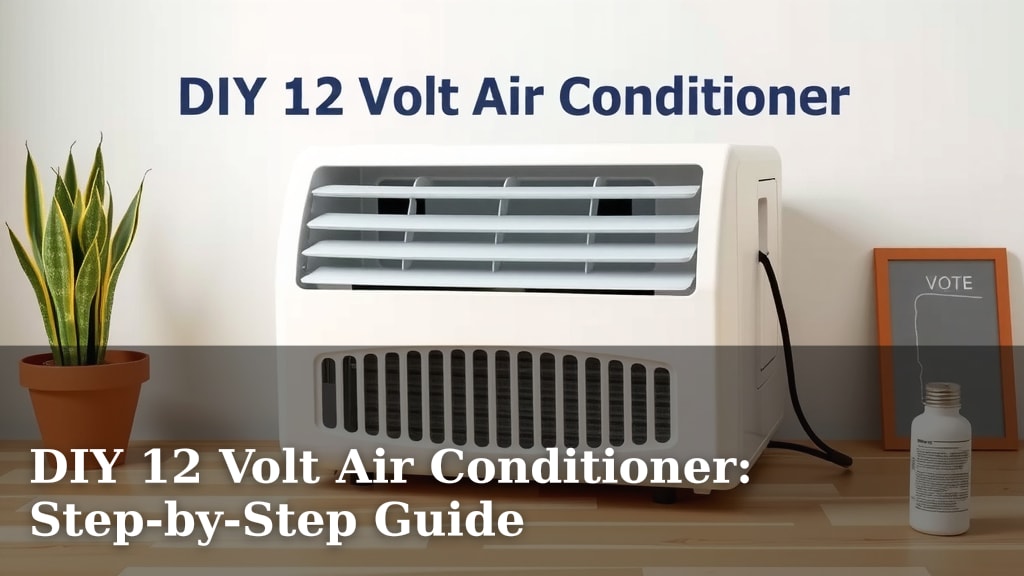
DIY 12 Volt Air Conditioner: Step-by-Step Guide
Yes, you absolutely can make your own 12-volt air conditioner, often called a swamp cooler or evaporative cooler. It’s a surprisingly achievable DIY project for personal cooling. These units work by using water evaporation to cool the air, making them great for dry climates.
Building your own 12V AC can be a fun and practical way to stay cool. You’ll need a few basic components like a fan, a water pump, and a container. Many people have success with these projects for small spaces, like a car or a tent, providing a refreshing breeze without relying on a traditional AC unit. It’s a great way to save energy too.
- You can build a 12-volt air conditioner.
- It works by evaporating water to cool the air.
- You’ll need a fan, water pump, and container.
- These are great for small spaces like cars or tents.
- It’s an energy-saving DIY cooling solution.
Ready to cool off with your own creation? Let’s walk through how to build a 12-volt air conditioner step by step.
Crafting Your Own 12-Volt Cooler
Building your own 12-volt air conditioner is totally doable! You’re essentially making a personal swamp cooler. These devices use the power of evaporation to chill the air. They’re fantastic for small spaces and dry climates. Think of it as a portable personal oasis. We’ll walk you through the process, step by step.
Gathering Your Essential Components
Before you start, let’s make sure you have everything you need. This project requires just a few key parts. You won’t need a full workshop. Most of these items are readily available online or at hardware stores.
The Core of Your Cooler
You’ll need a few main pieces to get this going. The heart of your cooler will be a 12-volt fan. This provides the airflow. A small submersible water pump is also essential. It will circulate the water. Don’t forget a container to hold your water. A plastic storage bin works great for this.
Additional Supplies You’ll Need
Beyond the main items, gather these other bits. You’ll want some PVC pipe or similar tubing. This will direct the cool air. Consider a piece of evaporative cooling pad material. This is what the water will soak into. Finally, you’ll need some wire and connectors. A 12-volt power source is, of course, necessary. This could be a car battery or a portable power station.
Assembling Your 12-Volt Air Conditioner: Step-by-Step
Now, let’s put it all together. It’s not rocket science, just basic DIY assembly. Follow these steps carefully for the best results.
Preparing the Container
Take your chosen container. You’ll need to cut holes in it. One hole is for the fan. Another will be for the air outlet. Measure carefully before cutting. A utility knife or a small saw works well here. Make sure the fan fits snugly into its opening.
Setting Up the Water System
Place the submersible water pump at the bottom of the container. Connect the PVC pipe or tubing to the pump’s outlet. This pipe will carry water up to your cooling pad. You might need to drill a small hole in the lid or side of the container for this pipe to pass through.
Installing the Cooling Pad
Position the evaporative cooling pad material inside the container. It should be placed so that water dripping from the PVC pipe can saturate it. You want the air from the fan to blow through this wet material. Some people use a wire rack to hold the pad in place.
Connecting the Fan and Power
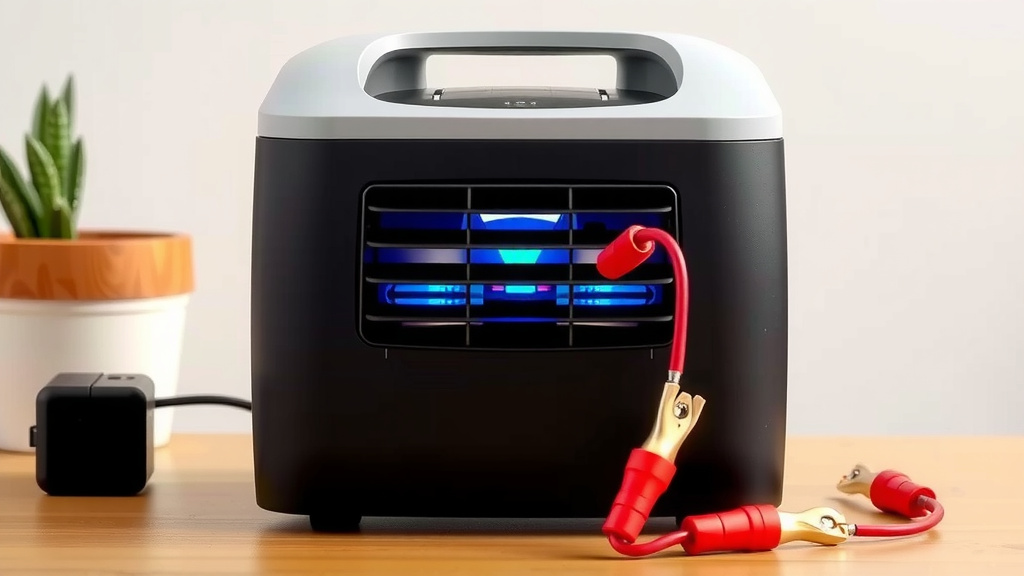
Mount your 12-volt fan so it blows air into the container, passing over the wet cooling pad. Connect the fan’s wires to your power source. You’ll need to connect the pump’s wires too. Ensure all connections are secure. Double-check your positive and negative connections to avoid issues.
Putting It All Together
Once everything is connected, close the container lid. Make sure the fan is securely attached and pointing inwards. The air outlet hole should now be where the cool air exits. You’re almost ready to test your creation!
Operation and Tips for Your DIY Cooler
Using your new 12-volt AC is simple. But a few tips can help you get the most out of it.
Adding Water and Power
Fill the container with clean water. Don’t overfill it. Just enough to keep the pump submerged and the pad moist is perfect. Connect your 12-volt power source. Turn on the fan and the water pump.
How the Cooling Works
The pump circulates water, keeping the evaporative pad wet. The fan then pulls warm air from outside. This air passes through the wet pad. As the water evaporates, it absorbs heat from the air. This process cools the air. The cooler air is then blown out through your designated outlet. Many sources suggest this method is most effective in low-humidity environments (U.S. Environmental Protection Agency).
Optimizing Performance
For best results, use cold water. You can even add ice packs to the water. Keep your cooler out of direct sunlight. This helps prevent the water from heating up too quickly. Ensure the cooling pad stays wet.
Maintenance and Care
Regular cleaning is important. Change the water frequently. This prevents stagnation and odors. Clean out the container and the pump periodically. This will ensure your cooler runs efficiently.
A Quick Checklist for Success
Here’s a handy checklist to ensure you haven’t missed anything:
- Gathered all necessary components.
- Cut appropriate holes in the container.
- Installed water pump and tubing.
- Secured the evaporative cooling pad.
- Connected fan and pump wiring correctly.
- Tested the system with water and power.
Conclusion
You’ve successfully learned how to build your own 12-volt air conditioner. It’s a rewarding project that offers a personal cooling solution. Remember, these DIY coolers work best in dry climates. They use simple evaporation to create a refreshing breeze. With basic components and a few steps, you can enjoy your custom-made cooler. Give your DIY 12V AC a try today and beat the heat!
Frequently Asked Questions
Can I use this 12V air conditioner in a humid environment?
While your DIY 12V air conditioner will still produce airflow, its cooling effectiveness will be greatly reduced in high humidity. Evaporative cooling relies on water evaporation, which doesn’t happen as readily when the air is already saturated with moisture. For best results, stick to dry or moderately humid conditions.
How much power does a 12V air conditioner typically use?
The power consumption varies depending on the fan and pump you use. Most small 12V fans draw around 1-2 amps, and a small submersible pump might use another 0.5-1 amp. This means your cooler could draw between 1.5 and 3 amps on average. This is a relatively low draw, making it suitable for car batteries or portable power stations.
What kind of water should I use in my 12V cooler?
Using clean tap water is generally fine for your DIY air conditioner. However, if you have very hard water, you might notice mineral buildup over time. To minimize this, consider using distilled water, especially if you plan on running the unit frequently or want to reduce maintenance.
How often should I change the water in my 12V air conditioner?
It’s a good practice to change the water every couple of days, or more often if you notice any odor developing. Stagnant water can become a breeding ground for bacteria and algae. Keeping the water fresh will ensure your cooler runs efficiently and smells pleasant.
Can I make the cooling pad material myself if I can’t find a pre-made one?
Yes, you can often improvise a cooling pad. Materials like a thick sponge, layered natural fiber cloth (like burlap or cotton), or even a stiff, porous cardboard can work. The key is that the material needs to absorb and hold water, while still allowing air to pass through it.