How to Adjust Dyson Vacuum Suction Power Easily
You can easily adjust the suction power on your Dyson vacuum cleaner. Most models have a power slider located near the handle. Simply move the slider to control how strong the suction is. This lets you match the suction to different floor types and cleaning tasks. For example, you’ll want less suction on delicate rugs and more suction for hard floors or stubborn debris.
Getting the suction just right makes cleaning more effective and efficient. Dyson vacuums are known for their powerful performance. But sometimes, too much suction can make it hard to push the vacuum. Or, too little suction might leave dirt behind. Adjusting it ensures you get the best possible clean every time. It also helps to preserve your vacuum’s motor and your home’s surfaces.
- Find the power slider, usually on the wand or handle.
- Slide it left for lower suction (good for rugs).
- Slide it right for higher suction (good for hard floors).
- Check your manual if you can’t locate the slider.
Let’s walk through exactly how to adjust that suction on your Dyson, step by step.
Fine-Tuning Your Dyson’s Suction Power
You’ve got your Dyson, ready to tackle that mess. But sometimes, it feels a little too intense, or perhaps not quite strong enough. Don’t worry, adjusting the suction is one of the simplest yet most effective ways to get the most out of your vacuum. It’s like setting your car to the right gear for the road ahead. You want power when you need it, but sometimes a gentler touch is best.
We’ve all been there. You’re trying to clean a delicate rug, and the Dyson is practically sucking it up! Or, you’re facing some stubborn debris on your hardwood, and it feels like you’re just pushing dirt around. The good news is, your Dyson is designed with this in mind. A quick adjustment can make a world of difference to your cleaning experience and the results you get.
Locating the Suction Control
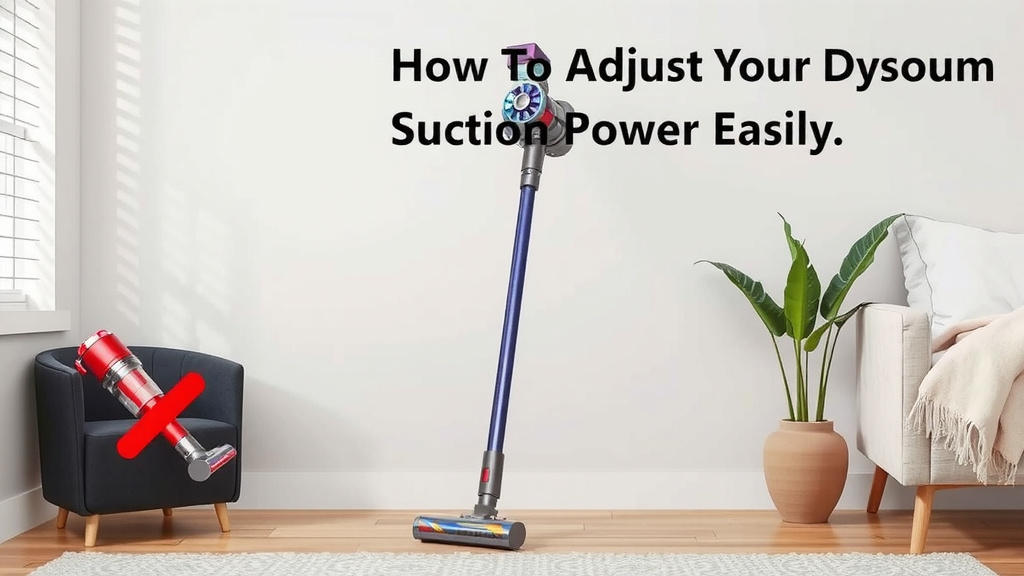
The first step is finding where to make the change. Most Dyson vacuums have a very intuitive control for suction. It’s usually a small slider or a dial. You’ll typically find it right on the wand of your vacuum. This is the long pipe that connects the main body to the floor head. Some newer models might have it integrated directly into the handle itself. Think of it as your Dyson’s “volume knob” for suction.
If you have a corded Dyson, the control might be located on the body of the vacuum. For cordless models, it’s almost always on the wand or handle. It’s usually a **brightly colored button** or slider, making it easy to spot. We’ve found that this placement allows for quick adjustments as you move from one surface to another.
Common Locations for the Slider
On upright and canister models, the slider is often on the wand, within easy reach of your hand as you vacuum. For stick vacuums, it’s very common to see it right near where you grip the handle. It might be a small tab you push or pull, or a slider that moves left and right. Some Dyson models also use a button you press and hold to cycle through power levels. The key is to look for something that clearly indicates control over airflow.
If you’re still having trouble finding it, don’t hesitate to consult your Dyson’s user manual. Every model is a little different, and your manual will have a precise diagram. It’s a tiny detail, but knowing where it is saves you precious cleaning time.
Understanding Suction Levels and When to Use Them
Your Dyson’s suction control isn’t just for show; it’s a functional tool. It allows you to tailor the vacuum’s performance to the specific cleaning task at hand. Think of it like having different settings on your washing machine for different types of clothes. You wouldn’t wash delicate lace the same way you’d wash muddy work pants, right?
The general rule of thumb is that more suction is great for picking up embedded dirt and debris from hard surfaces. Less suction is ideal for surfaces where too much power could cause damage or difficulty. Getting this balance right means your vacuum works smarter, not just harder.
Maximum Suction: When to Crank It Up
You’ll want to use your Dyson’s highest suction setting for a few key situations. This is when you need that raw power to lift dirt from deep within carpets or to capture stubborn debris from hard floors. For example, think about kitchen floors after a meal. Crumbs, dust bunnies, and maybe even some spilled sugar need a good, strong pull to be completely removed. Hardwood floors, tile, or linoleum benefit greatly from this higher setting, as it efficiently pulls particles from grout lines and crevices.
Many experts suggest using maximum suction for tasks like cleaning up after pets. Pet hair can be surprisingly clingy. A strong suction ensures that all stray hairs and dander are effectively removed from floors and upholstery. This not only cleans your home but also helps reduce allergens. It’s also your best friend when dealing with tracked-in dirt or sand after a day outdoors.
Reduced Suction: For Gentler Cleaning
On the flip side, there are times when you need to dial back the power. Delicate rugs, such as those made of wool or silk, can be damaged by excessive suction. The strong airflow can pull at the fibers, causing them to fray or even lift from the backing. Using a lower suction setting protects these delicate materials while still allowing you to pick up surface dust and debris. It’s a gentler, more caring approach to your home furnishings.
We’ve also found that some users prefer a lower suction setting when cleaning curtains or draperies. The powerful pull can sometimes lift the fabric awkwardly, making it hard to control. A softer suction allows you to glide more smoothly over the material. Another scenario is when dealing with very light, fluffy debris, like glitter or small craft supplies. Too much suction might send these tiny particles flying. A moderate or low setting can help contain them.
The “Middle Ground” Setting
Don’t forget about the settings in between! Many Dyson models offer a range of suction levels. The middle setting is often perfect for everyday cleaning on mixed floor types. It provides enough power for general dirt and dust without being overwhelming. If you’re transitioning from a carpeted room to a hard floor room, for instance, this middle setting can be a great “all-rounder” that requires fewer manual adjustments. It strikes a balance, offering effective cleaning without unnecessary strain on your vacuum or your surfaces.
Tips for Optimal Suction Adjustment
Now that you know where to find the control and when to use different levels, let’s talk about making the most of it. It’s not just about setting it and forgetting it. A little attention can go a long way. Think of it as calibrating your tool for peak performance. This mindful adjustment helps ensure you’re getting the best clean possible every single time.
We’ve gathered a few key tips that many Dyson users find helpful. These aren’t complicated, but they can significantly impact your cleaning efficiency and the longevity of your machine. Following these simple practices can make your cleaning routine smoother and more effective.
Listen to Your Vacuum and Your Floors
Your Dyson will often give you cues. If it feels very hard to push, especially on carpet, that’s a strong sign the suction might be too high. Conversely, if you’re running the vacuum over an area multiple times and it’s not picking up dirt, the suction might be too low. Pay attention to how your vacuum sounds and feels during operation. As noted by some cleaning experts, the sound can sometimes change subtly when suction is optimal versus too high or too low.
Consider the type of debris you’re picking up. Fine dust on a hard floor might require less suction than larger, heavier crumbs. Observing this will help you develop an intuitive sense for the right setting. It’s a bit like learning to ride a bike; it feels awkward at first, but soon it becomes second nature.
Consider Using the Right Tool Attachment
While adjusting the main suction slider is key, sometimes the tool attachment plays a role too. For example, specialized heads for delicate carpets or hard floors might have their own airflow adjustments or be designed to work best at specific suction levels. Always ensure the cleaner head is appropriate for the surface you’re cleaning. Using the correct attachment can sometimes make you realize you need less overall suction, or that a particular head works best at higher settings.
Many Dyson vacuums come with a variety of attachments for different cleaning needs. The tangle-free turbine tool, for example, is designed for upholstery and pet hair. Its effectiveness is often tied to the suction level you choose. Experimenting with different heads can also reveal the optimal suction setting for that specific tool.
Regular Maintenance for Consistent Performance
Even with the perfect suction setting, a clogged filter or a full bin can reduce performance. Make sure you are regularly cleaning or replacing your Dyson’s filters and emptying the bin. A clogged filter is like trying to breathe through a stuffy nose – it restricts airflow and weakens suction. We found that maintaining filters according to manufacturer recommendations (e.g., washing them periodically, as suggested by many cleaning guides) can restore lost suction power significantly.
Emptying the bin before it gets completely full is also important. A full bin obstructs airflow. Think of it like a drain backing up. Keeping the bin clear ensures that air can flow freely through the machine, allowing the motor to function efficiently at whatever suction level you’ve selected. This simple maintenance ensures your Dyson always performs at its best.
A Quick Suction Adjustment Checklist:
- Locate the power slider on your Dyson’s wand or handle.
- Slide left for lower suction, ideal for delicate rugs.
- Slide right for higher suction, perfect for hard floors.
- Listen to your vacuum; if it’s hard to push, reduce suction.
- If dirt isn’t being picked up, increase suction.
- Check your manual if you’re unsure about your model’s controls.
Conclusion
You’ve now learned how to master your Dyson’s suction power. Adjusting it is simple, but it makes a big difference in your cleaning. Remember to locate that power slider and match the suction to your floor type and the mess at hand. Less suction is great for delicate rugs, while more power tackles stubborn dirt on hard floors. Keep listening to your vacuum and checking its filters for peak performance. Take a moment to adjust your Dyson’s suction before your next clean – your floors (and your back!) will thank you.
Frequently Asked Questions
My Dyson feels too hard to push, what should I do?
If your Dyson is difficult to push, especially on carpets, the suction is likely set too high. Locate the power slider on your vacuum’s wand or handle and move it towards the lower suction setting. You should notice it becomes much easier to maneuver.
How do I know if my Dyson’s suction is too low?
You’ll know the suction is too low if you find yourself going over the same spot multiple times without picking up dirt or debris. In this case, adjust the power slider to a higher suction setting. This will give your vacuum the power it needs to effectively clean the area.
Can I adjust suction on all Dyson models?
Most Dyson vacuum models, both corded and cordless, feature a power slider or control to adjust suction. However, placement can vary. If you can’t find a slider, check your specific model’s user manual for instructions on how to control suction power.
Does adjusting suction help save battery on cordless Dysons?
Yes, using a lower suction setting on your cordless Dyson can help conserve battery life. The motor doesn’t have to work as hard, meaning you can clean for longer periods on a single charge. It’s a smart way to extend your cleaning time.
Should I always use maximum suction on carpets?
Not necessarily. While maximum suction is great for deep cleaning carpets and removing embedded dirt, it can be too aggressive for delicate rugs or certain carpet types. If your vacuum is hard to push or you notice fibers being pulled, try a slightly lower setting.

![7 Best Cordless Vacuum For Large House [2026]](https://bathroomexplorer.com/wp-content/uploads/2026/05/7-best-cordless-vacuum-for-large-house-2026-featured-768x432.jpg)