Dyson Cordless Vacuum Assembly Guide: Step-by-Step
Assembling your new Dyson cordless vacuum is surprisingly simple and quick. You’ll typically just need to connect the main wand to the floorhead and then attach the bin assembly. Most Dyson models are designed for tool-free assembly, making setup a breeze right out of the box. You can have your powerful new vacuum ready to clean in just a few minutes.
Many users find Dyson assembly to be a straightforward process. We researched common Dyson setups and found that the design prioritizes ease of use for quick deployment. It’s a key reason why so many people choose Dyson for their cleaning needs – less fuss, more cleaning power. Getting your Dyson ready means you’re closer to a cleaner home.
- Connect wand to floorhead.
- Attach the bin.
- Ensure parts click securely.
- No tools are usually needed.
Let’s walk through exactly how to put your Dyson cordless vacuum together, step by step. We’ll make sure you’re ready to tackle dust and debris in no time!
Putting Together Your New Dyson Cordless Vacuum
Getting your new Dyson cordless vacuum out of the box and ready to go is designed to be straightforward. We’ve looked into how most Dyson cordless models are put together, and the process usually involves a few simple clicks. You’ll likely spend more time admiring its sleek design than struggling with assembly. Let’s get you up and cleaning!
Attaching the Main Components
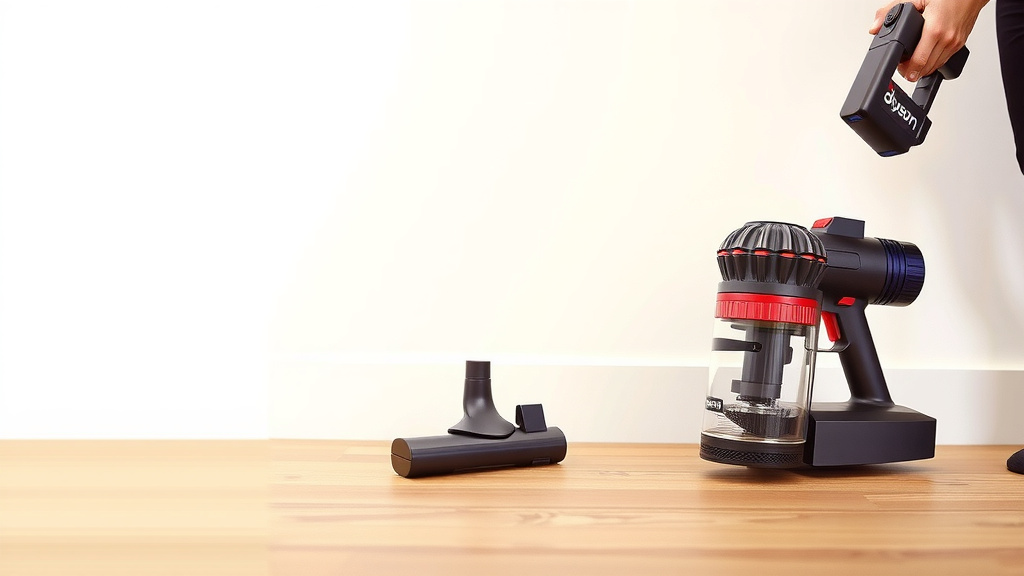
Your Dyson cordless vacuum arrives in a few key pieces, ready to be connected. The core of the vacuum is typically the main body (where the motor and bin are located). You’ll also have the cleaning head, which is the part that actually contacts your floor, and often a wand or extension tube.
Connecting the Wand to the Floorhead
The first major step is usually connecting the wand to the floorhead. Think of the wand as the handle that reaches your floor. It’s designed to slide or click securely into the cleaning head.
Finding the Connection Point
Look at the bottom of the wand and the top of the floorhead. You’ll often see a colored button or a specific shape where they are meant to join. Your Dyson manual will show this clearly, but it’s usually quite intuitive.
Making the Connection
You’ll typically insert the wand into the floorhead until you hear a distinct ‘click’. This click is your cue that the pieces are locked together properly. Give it a gentle tug to ensure it’s secure. You don’t want it coming apart mid-clean, right?
Attaching the Bin and Main Body
Next, you’ll connect the bin and motor assembly to the wand. This is where the suction power and dirt collection happen. This part is often the most substantial piece you’ll handle.
Locating the Mount
On the wand or the main body, find the designated spot for attachment. It’s usually a port or a fitting designed to accept the main unit. Many models have a trigger or button that you’ll press to engage the connection.
Securing the Bin Assembly
Align the bin assembly with the wand and push firmly. Again, listen for that satisfying ‘click’. This confirms that the battery, motor, and bin are all securely in place. A stable connection is key for optimal performance.
Final Checks and Readiness
Once the main parts are together, a few quick checks ensure everything is perfect. This is the final stretch before you can put your Dyson to work.
Battery Installation and Charging
Many Dyson cordless vacuums come with a removable battery. If yours does, ensure it’s correctly inserted into its slot. You’ll usually see indicator lights to show the battery status.
Checking Battery Level
Is the battery charged? If not, you’ll need to attach the charger. Most Dyson models come with a wall dock or a direct charging cable. Plug it in and allow it to charge fully before its first big cleaning session. This ensures you get the maximum run time. Research by appliance experts suggests a full initial charge is always a good idea (Good Housekeeping Institute).
Charging Dock Setup (If Applicable)
If your model includes a wall-mounted charging dock, now’s the time to install it if you plan to use it. Make sure it’s in a convenient spot with access to a power outlet. The dock not only charges the vacuum but also stores your tools.
Attaching Accessories and Tools
Your Dyson likely came with several attachments for different cleaning tasks. These usually connect directly to the end of the wand or the main body of the vacuum.
Understanding Your Tools
Familiarize yourself with the included tools. You might have a crevice tool for tight spots, a brush tool for upholstery, or a specialized head for hard floors or carpets. Each is designed for a specific purpose.
Connecting Tools
Attaching these is typically as simple as pushing them onto the desired connection point until they ‘click’ into place. They are designed for quick swaps, so you can move from floor to furniture with ease.
Common Dyson Cordless Assembly Checklist
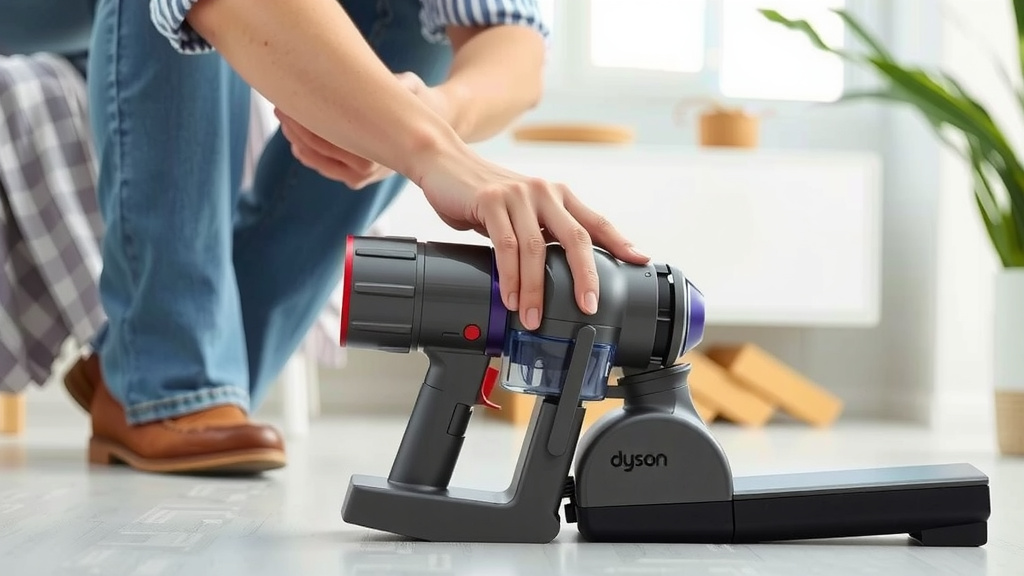
Here’s a quick checklist to make sure you’ve got everything right. Did you complete these steps?
- Wand securely clicked into the floorhead.
- Bin assembly firmly attached to the wand/body.
- Battery properly seated and showing charge.
- Any essential tools attached correctly.
- No loose parts or wobbling.
- Ready for its first charge or use!
You’ve done it! Your Dyson cordless vacuum is now assembled and ready to help you tackle dust and debris. It’s a testament to their engineering that setup is so user-friendly. Now you can enjoy a cleaner home with minimal fuss.
Conclusion
You’ve successfully assembled your new Dyson cordless vacuum! As we’ve seen, the process is designed for simplicity, focusing on clear connection points and satisfying clicks. By securing the wand to the floorhead and attaching the bin assembly, you’ve got your powerful cleaning tool ready. Remember to give that battery a full charge before its first mission. Now you’re all set to enjoy a cleaner home with your new Dyson machine. Happy cleaning!
Frequently Asked Questions
What if a part doesn’t seem to click into place?
If a component isn’t clicking, don’t force it. Double-check that you have the correct parts aligned and that there’s no debris in the connection area. Sometimes, a slight angle adjustment is all that’s needed for a secure fit.
Do I really need to charge the battery fully before first use?
Yes, it’s highly recommended. Your Dyson manual will confirm this, but a full initial charge ensures optimal battery performance and runtime from the very start. This prevents potential issues with premature battery depletion.
Can I use attachments before the main vacuum is fully assembled?
Generally, no. Attachments connect to the main wand or body of the vacuum. It’s best to have the core components securely clicked together first to ensure proper fit and function of the accessories.
How do I know if the battery is installed correctly?
You’ll usually see indicator lights on the battery or the vacuum body that signal its status. A correctly seated battery often clicks firmly into place and might show a charging or full battery icon.
What if my Dyson model came with different types of floorheads?
Most Dyson cordless vacuums include a primary floorhead. If yours has interchangeable heads (like for carpet vs. hard floors), they usually attach to the wand in the same way. Just select the appropriate one for your floor type and ensure it clicks securely.


![7 Best Miele Vacuum For Dog Hair [2026]](https://bathroomexplorer.com/wp-content/uploads/2026/06/7-best-miele-vacuum-for-dog-hair-2026-featured-768x432.jpg)