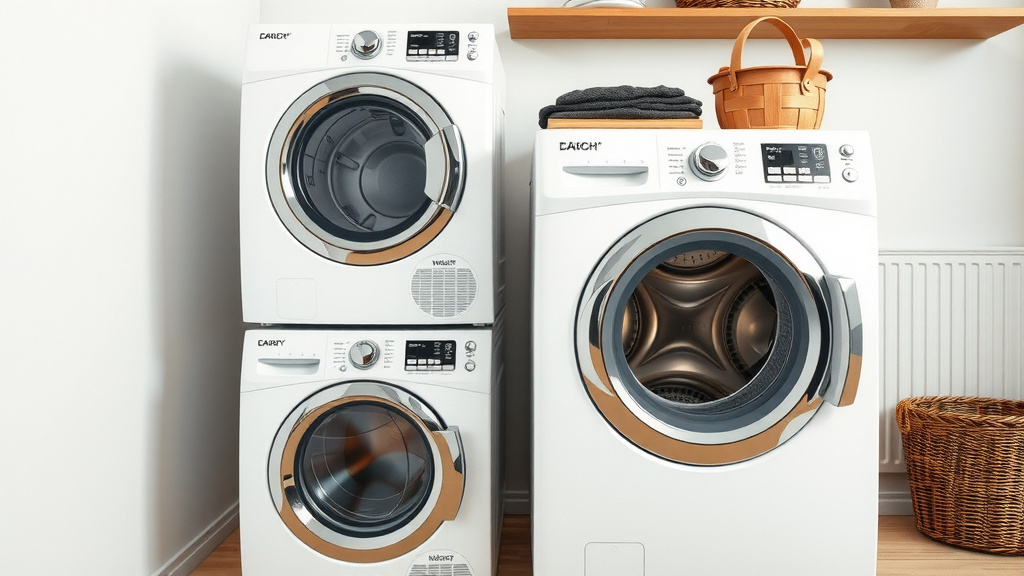
Stackable Washer Dryer Installation: A Step-by-Step Guide
Yes, you can absolutely install a stackable washer and dryer yourself with the right tools and a little patience. Properly installing a stackable unit involves securing the dryer on top of the washer. This ensures your laundry setup is both **safe and stable**. Getting this right prevents potential accidents and keeps your appliances working.
Many homeowners choose stackable units to **maximize living space**. It’s a clever solution for apartments or smaller homes. We found that ensuring the connections are **secure and leak-free** is key for long-term performance. This guide will help you achieve a professional-looking installation.
- Save space with a stackable unit.
- Ensure secure connections for safety.
- Check water and electrical lines carefully.
- Leveling the machines is important.
- Follow manufacturer instructions closely.
Let’s walk through exactly how to get your stackable washer and dryer installed safely and correctly, step by step.
Setting Up Your Stackable Washer and Dryer
Installing a stackable washer and dryer yourself is totally doable! It’s all about securing that dryer safely on top of the washer. This makes sure your laundry setup is stable and won’t wobble. We found that a solid installation prevents accidents and keeps your appliances running smoothly for years to come. Let’s get this done right.
Gathering Your Tools and Supplies
Before you start, make sure you have everything you need. Having all your tools ready means fewer trips to the store and a smoother installation process. This will save you time and potential headaches.
Essential Tools for the Job
You’ll need some basic tools for this project. Most of these are likely already in your toolbox. Having them handy is key to a successful setup. We recommend having these items close by.
- Adjustable wrench
- Pliers
- Screwdriver set (Phillips and flathead)
- Level
- Measuring tape
- Utility knife
- Bucket and towels
Important Supplies to Purchase
Besides tools, you’ll need a few specific supplies. These ensure your connections are secure and safe. Check your appliance manuals for exact recommendations. Manufacturer guidelines are always your best friend here.
- Stacking kit: This is a must-have. It securely fastens the dryer to the washer.
- Washer hose connectors: Ensure they are the correct type for your water supply.
- Dryer vent kit: This includes the vent hose and clamps.
- Electrical tape (if needed for certain connections).
- Plumber’s tape (for water connections).
Preparing the Installation Area
Location, location, location! Where your machines go matters. You need proper space and access to essential hookups. Clear the area completely before you bring the appliances in.
Checking Your Space Requirements
Stackable units are great space savers. But they still need room to breathe and operate safely. Measure your designated laundry space carefully. Ensure there’s enough clearance around the units for ventilation and access. Many manufacturers suggest at least an inch of space on the sides and back (LG).
Ensuring Proper Utility Connections
Your washer and dryer need water, drainage, and electricity. Make sure these hookups are accessible and in good working order. Your washer needs hot and cold water lines. It also needs a drainpipe or standpipe. The dryer needs a power outlet and a vent. Electric dryers require a 240-volt outlet. Gas dryers need a gas line and a standard outlet.
Step-by-Step Installation Process
Now, let’s get down to the actual installation. Follow these steps carefully for a safe and effective setup. Take your time with each part. Rushing can lead to mistakes.
Positioning the Washer
Place the washer first in its final spot. Make sure it’s close enough to the water and drain hookups. You don’t want hoses to be stretched too tight. This can cause leaks later on. Also, ensure it’s near an electrical outlet. Get it as close to the wall as possible without kinks.
Leveling the Washer: The Foundation of Stability
This is a super important step. A wobbly washer can cause lots of problems. Use your level to check if the washer is even. Most washers have adjustable feet. You can twist these up or down to level the machine. Check from front to back and side to side. A perfectly level machine means less vibration during cycles.
Connecting Water and Drain Hoses
Attach the water inlet hoses to the washer. Use plumber’s tape on the threads for a good seal. Connect the other ends to your hot and cold water faucets. Ensure they are snug but don’t overtighten. Next, connect the drain hose to your drainpipe or standpipe. Make sure it’s secured so it won’t pop out during the drain cycle. We found that checking for leaks after connecting is a wise move.
Placing and Securing the Dryer
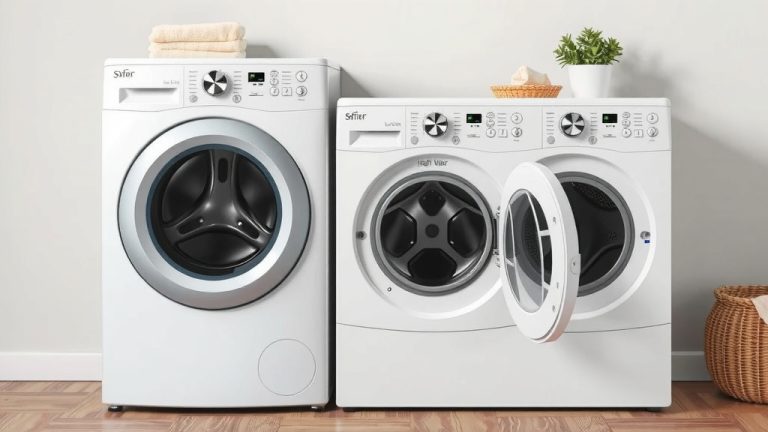
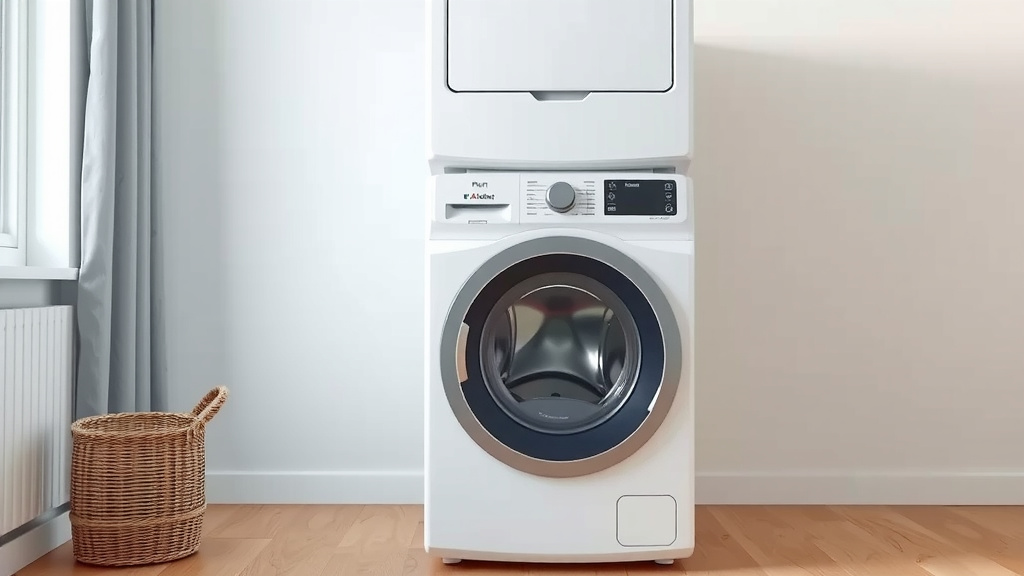
This is where the “stackable” part comes in. Carefully lift the dryer and place it on top of the washer. Many stacking kits come with special brackets. Follow the kit’s instructions precisely. Secure the dryer to the washer using the provided hardware. This connection must be rock solid. It prevents the dryer from shifting or falling.
Connecting the Dryer Vent and Power
Attach the dryer vent hose to the back of the dryer. Use a clamp to secure it. Run the vent hose to your house’s exterior vent opening. Make sure the path is as straight as possible. Sharp bends can reduce airflow and drying efficiency. Connect the other end to the wall vent. For electric dryers, plug the power cord into the appropriate outlet. For gas dryers, connect the gas line (this may require a professional).
Final Checks and Testing
Before you run a full load, do a quick check. Ensure all hoses are secure. Confirm the dryer is firmly attached to the washer. Check that the vent hose is properly connected and not kinked. Make sure the area around the machines is clear. Now, run a short test cycle on the washer. Then, run a short test cycle on the dryer. Listen for any unusual noises. Watch for any leaks around the water connections. This is your chance to catch any small issues before they become big ones.
Understanding Your Stacking Kit
Stacking kits are designed for safety and stability. They are appliance-specific. Always use the kit recommended by your washer and dryer manufacturer. Some kits use straps, others use metal brackets. The goal is the same: to keep that heavy dryer securely in place. We found that following the kit’s specific instructions is absolutely vital. They often have detailed diagrams.
| Appliance | Connection Type | What to Check |
|---|---|---|
| Washer | Water Inlet Hoses | Secure fittings, no kinks, faucet fully open. |
| Washer | Drain Hose | Firmly in standpipe, not too high or low. |
| Dryer (Electric) | Power Cord | Plugged into correct outlet, no damage. |
| Dryer (Gas) | Gas Line & Power | Professional connection for gas, correct outlet for power. |
| Dryer | Vent Hose | Secure clamp, straight run, no leaks. |
Troubleshooting Common Installation Issues
Even with careful planning, you might run into a hiccup or two. Don’t worry, most problems are easily fixed. Staying calm and working through them is the best approach.
Leaky Connections
If you spot a leak, the first thing to check is the connection point. Is the fitting tight enough? Did you use plumber’s tape on threaded connections? Sometimes, a hose might be slightly damaged. If a leak persists, you may need to replace the hose or fitting.
Vibrations or Noise
Excessive shaking or noise usually means the machines aren’t level. Double-check that both the washer and dryer are perfectly balanced. Make sure the floor beneath them is solid and not warped. Ensure the stacking kit is fully tightened. Sometimes, items left in pockets can cause rattling too!
Dryer Not Heating or Running
For electric dryers, check if it’s plugged in securely to the correct outlet. For gas dryers, ensure the gas valve is open. A clogged vent line is another common culprit. Lint buildup restricts airflow, which can prevent heating and cause longer dry times. Cleaning your dryer vent regularly is a preventative measure.
Maintenance Tips for Your Stacked Units
Once installed, a little regular care goes a long way. Keeping your machines in good shape ensures they last longer and perform better. A little effort now saves you trouble later.
- Clean the lint trap after every dryer load. This is critical for efficiency and fire safety.
- Wipe down the exterior regularly. This keeps them looking nice and prevents dust buildup.
- Check water hoses periodically. Look for any signs of wear or cracking. Replace them every few years as a precaution.
- Ensure the area around the machines is clear. Good airflow is important for both units.
Conclusion
You’ve now got the knowledge to successfully install your stackable washer and dryer. We walked through gathering your tools, preparing the space, and connecting everything step-by-step. Remember, leveling is key, and securing the dryer with a stacking kit ensures safety. Don’t forget those final checks before running a load!
With careful attention to detail, your new space-saving laundry setup will be ready to go. Now, take a deep breath, gather your supplies, and get started on your installation project. Your efficient laundry area awaits!
Frequently Asked Questions
What if my stacking kit doesn’t fit perfectly?
If your stacking kit doesn’t seem to align perfectly, double-check that you have the correct kit for your specific washer and dryer models. Sometimes, minor adjustments to the mounting brackets can be made, but always consult both the kit and appliance manuals. If you’re unsure, contacting the manufacturer for guidance is the safest bet.
Can I skip the stacking kit if the dryer feels stable?
No, you should never skip the stacking kit. While the dryer might feel stable initially, it’s not designed to withstand the vibrations and movement of washing and drying cycles without proper securing. The stacking kit is essential for safety and prevents the dryer from shifting or falling, which could cause serious damage or injury.
How do I know if my floor can support a stacked unit?
Most standard residential floors can support the weight of a stacked washer and dryer, especially when properly leveled. However, if you have an older home or concerns about floor stability, it’s a good idea to inspect the area. Ensure the floor joists are sound and there’s no significant warping or damage beneath where the appliances will sit.
What’s the difference between a gas and electric dryer hookup for stacking?
Electric dryers simply plug into a dedicated 240-volt outlet. Gas dryers require both a gas line connection (which should ideally be installed by a professional) and a standard 120-volt electrical outlet for the drum and controls. Make sure you have the correct utility hookups available in your installation space before you begin.
How often should I check the connections after installation?
It’s wise to re-check all water and vent connections about a week after installation. After that, a quick visual inspection every few months should suffice. Look for any signs of leaks around the water hoses or loose fittings on the vent. This simple check can prevent minor issues from becoming major problems.