How to Install a Washer Dryer Stacking Kit
Installing a stacking kit for your washer and dryer is a straightforward process that can help you maximize your laundry room space. You can achieve a secure and stable connection between your appliances by following a few key steps. This method is designed to prevent movement and ensure your machines operate safely when stacked.
Many homeowners find stacking their laundry appliances a smart space-saving solution. Before you begin, it’s important to confirm your washer and dryer models are compatible with a stacking kit. We found that checking the manufacturer’s specifications is the best way to avoid potential issues and ensure a proper fit.
- Confirm your appliances are stackable.
- Gather all the parts included in your stacking kit.
- Ensure you have the necessary tools.
- Read the kit’s specific instructions carefully.
- Take your time and work safely.
Let’s walk through exactly how to install your washer and dryer stacking kit step by step so you can enjoy your newly organized laundry space.
Attaching Your Washer and Dryer with a Stacking Kit
You’re ready to tackle this project. Installing a stacking kit is a great way to reclaim floor space in your laundry area. It ensures your appliances stay safely together. We’ve found that many kits are designed for easy DIY installation. Let’s get started on securing your machines.
Preparing for Stacking Installation
Before you grab your tools, let’s make sure you’re fully prepared. A little planning goes a long way. You’ll want to gather everything you need before you start. This prevents frustrating interruptions later.
Confirming Appliance Compatibility and Kit Contents
You’ve already checked that your machines are stackable, which is fantastic. Now, let’s verify your stacking kit. Open the box and lay out all the parts. Compare them against the instruction manual that came with the kit. You should have brackets, screws, and maybe a strap. Don’t toss that manual! It’s your best guide for the specific parts you have.
Gathering Your Tools
What tools will you need for this job? Most stacking kits require a few common household items. You’ll likely need a screwdriver, probably a Phillips head. A power drill can make things go faster, but be gentle. A level is also essential to ensure everything is straight. Sometimes, a tape measure comes in handy. And, of course, a pair of work gloves can protect your hands.
Essential Tools Checklist
- Phillips Head Screwdriver
- Power Drill (optional, use with caution)
- Spirit Level
- Tape Measure (optional)
- Work Gloves
Step-by-Step Stacking Kit Installation Guide
Now for the hands-on part! We’ll guide you through each step. Remember to work at a comfortable pace. Safety first, always. We found that taking your time leads to a much better final result.
Positioning the Appliances
This is where the space-saving magic happens. You’ll need to move your washer and dryer into their final stacked position. It’s often easiest to stack them before fully securing them. Gently slide the dryer into place on top of the washer. Make sure there’s enough space around them for access. You’ll need to get behind them for some steps. We found that having a helper for this part is highly recommended. Trying to lift a heavy dryer alone is a recipe for disaster.
Installing the Mounting Brackets
Most kits use brackets to secure the top appliance to the bottom one. First, consult your kit’s instructions. They’ll show you exactly where the brackets attach. Usually, you’ll attach one set of brackets to the back of the washer. Then, you’ll attach the corresponding brackets to the back of the dryer. Use the screws provided with the kit. Make sure they are tightened securely. They hold everything together, so don’t skimp on this!
Attaching Brackets to the Washer
Place your washer in its final location. Identify the pre-drilled holes or markings on the back of the unit. These are where your brackets will go. Line up the brackets with these points. Use your screwdriver or drill to fasten the brackets with the correct screws. Ensure the brackets are flush against the machine. We found that a second person holding the bracket steady helps immensely here.
Attaching Brackets to the Dryer
Now, let’s focus on the dryer. With the dryer positioned on top of the washer, align its brackets. These should match up with the brackets on the washer. You might be screwing directly into the dryer’s frame or pre-set points. Again, use the screws from your kit. Tighten them until they are snug. The goal is a rock-solid connection between the two machines.
Securing the Appliances Together
This is the main event! You’ll use the central piece of the kit to connect the brackets. This could be a strap, a metal bar, or interlocking pieces. Follow your kit’s diagram precisely. You will likely need to slide this piece between the washer and dryer. Then, secure it to the brackets you just installed. This step is absolutely critical for stability. Make sure all connections are firm and there’s no slack.
Using Straps or Interlocking Pieces
If your kit uses a strap, you’ll thread it through the brackets. Then, you’ll tighten it down until it’s taut. For interlocking pieces, they usually click or screw together. The key is to eliminate any movement. You want your dryer to feel like it’s part of the washer. We found that checking the tension multiple times is a good practice.
Final Checks and Leveling
You’re almost there! Now it’s time for a final inspection. Give the dryer a gentle nudge. Does it wobble? Is it securely attached to the washer? Use your level on top of the dryer. Ensure it’s perfectly horizontal. If not, you might need to adjust the leveling feet on the washer or dryer. Getting this right prevents vibrations and noise.
Testing for Stability
Gently push and pull on the stacked units. They should feel like one solid piece. There should be no noticeable sway. If you feel any movement, re-check all the screws and the main connecting piece. We found that running a short test cycle on the washer can also reveal any hidden issues. Listen for unusual noises.
Ensuring the Stack is Level
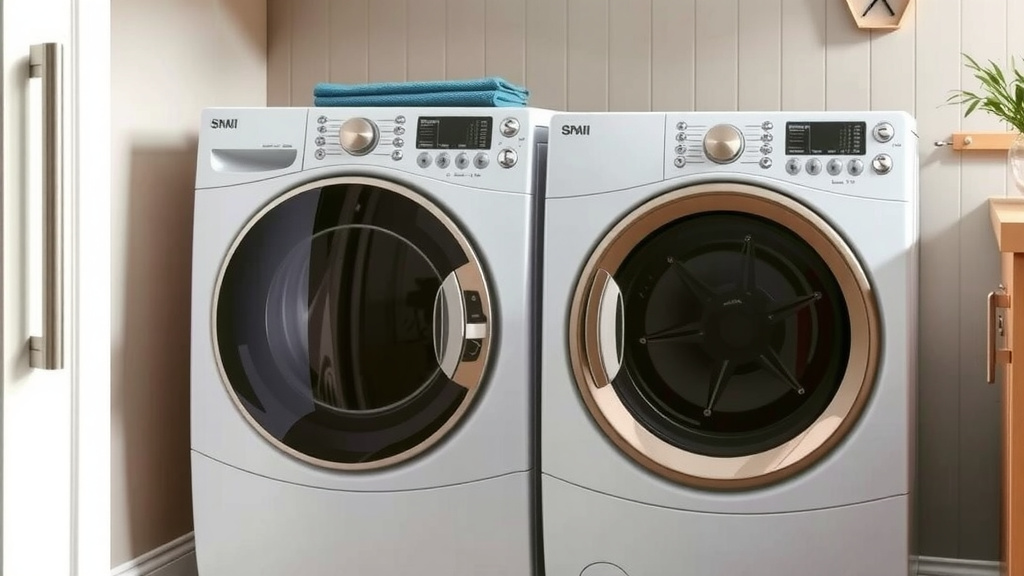
Place your spirit level on top of the dryer. Check it from front to back and side to side. If it’s not level, you’ll need to make adjustments. Most appliances have adjustable feet at the bottom. You can screw these feet up or down to level the unit. This step is important for proper operation and appliance longevity.
Troubleshooting Common Stacking Issues
Even with careful installation, you might encounter small hitches. Don’t worry, most are easily fixed. These common problems are usually straightforward to resolve. We found that consulting the kit’s manual or the appliance manufacturer’s support is often the quickest way to get answers.
Wobbly Appliances
If your stack still feels a bit wobbly, it’s usually because a connection isn’t tight enough. Go back and re-tighten all screws. Ensure the main connecting strap or bar is fully engaged and taut. Also, double-check that the appliances themselves are level on the floor. Uneven feet can contribute to instability. Many experts advise that this is the most common reason for wobbling (Home Appliance Repair Guide).
Gaps Between Appliances
Sometimes, you might notice a slight gap. This is often normal, especially if the backs of your machines aren’t perfectly flat. As long as the stacking kit is securely fastened and the appliances are stable, a small gap usually isn’t a problem. If the gap seems large or is causing an issue, ensure the brackets are installed correctly. They should be pulling the units as close as the kit allows.
Conclusion
You’ve successfully navigated the steps to install your washer and dryer stacking kit. By confirming compatibility, gathering your tools, and carefully following the installation guide, you’ve created a more organized and efficient laundry space. Remember, a secure connection is key to safe operation and appliance longevity. Take a moment to admire your work – you’ve made a smart upgrade to your home.
Now that your appliances are securely stacked, you can enjoy the reclaimed floor space. Make sure to check the stability one last time before loading up your first laundry basket. You’re ready to tackle laundry day with your new, space-saving setup!
Frequently Asked Questions
Can I stack any washer and dryer?
Generally, only front-loading washers and dryers are designed to be stacked. Always check your appliance’s manufacturer specifications or user manual. We found that confirming compatibility beforehand prevents potential safety hazards and ensures a proper fit.
Do I need a helper to install a stacking kit?
Yes, it’s highly recommended to have at least one helper. Lifting and maneuvering heavy appliances like a dryer on top of a washer can be difficult and risky. Having an extra pair of hands makes the process safer and much easier.
What if my stacking kit doesn’t seem to fit perfectly?
If you encounter gaps or alignment issues, re-read your specific stacking kit’s instructions carefully. Ensure all brackets are attached correctly to both machines. Sometimes, a slight adjustment to the appliance’s leveling feet can help align them better for a snugger fit.
How tight should the stacking kit connections be?
All connections, including screws and straps, should be securely tightened. The goal is to create a rock-solid connection that eliminates any movement between the two appliances. You want the dryer to feel like it’s firmly part of the washer.
Can I remove the stacking kit later if needed?
Yes, stacking kits are typically designed to be removable. You would essentially reverse the installation process. However, you’ll need to make sure your appliances are stable if you decide to place them side-by-side again.