Step-by-Step Washer Pedestal Installation Guide
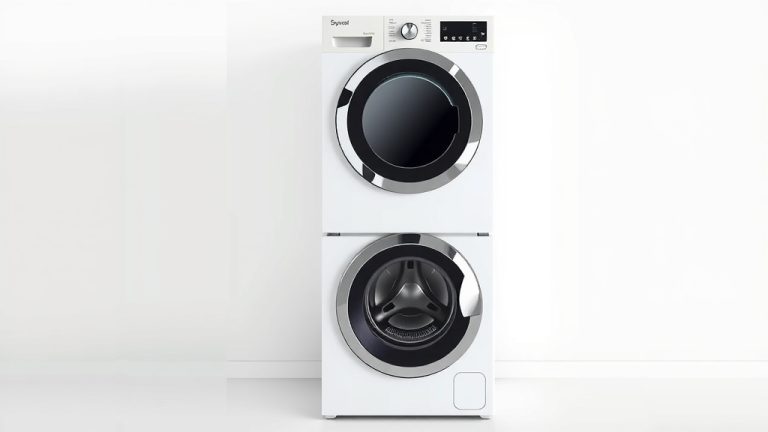
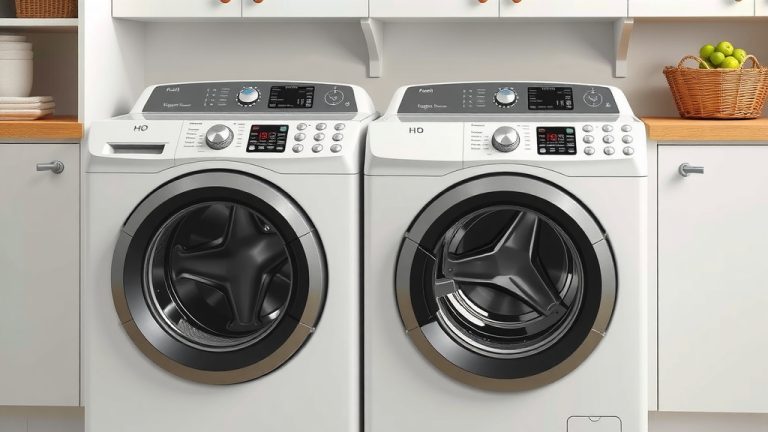
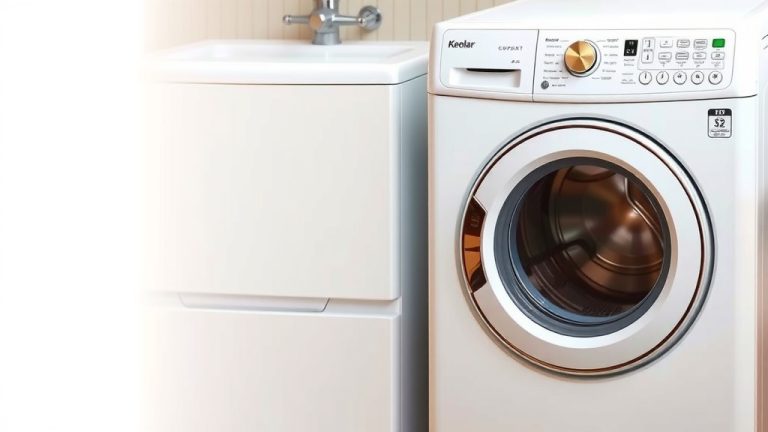
The easiest way to install a washer pedestal is to flip the washer on its side, attach the pedestal base with the included bolts, and then tip the washer back upright onto the pedestal. You can complete this DIY project in about 30 minutes with just a socket wrench and a second person to help lift. This simple addition raises your washer to a comfortable height and gives you a handy storage drawer for detergent and supplies.
Before you start, you need to check if your washer is actually compatible with the pedestal model you bought. We found that most major brands like Samsung, LG, and Whirlpool require a specific matching pedestal, so checking your model number is a must. Also, keep in mind that installing a pedestal adds roughly 12 to 15 inches of height, so make sure your laundry room ceiling and water hookups have enough clearance.
- Check compatibility: Confirm your washer model number matches the pedestal model before buying.
- Gather tools: You only need a socket wrench and the bolts included in the box.
- Get a helper: Always have a second person to safely tip and lift the heavy machine.
- Connect the drawer: Attach the drawer slide clips before you tip the washer upright.
- Level it out: Adjust the washer feet after setup to stop any shaking during the spin cycle.
Below, we break down the exact steps to get your washer lifted safely, plus the mistakes you need to avoid so you don’t dent your machine or void your warranty. Let’s walk through it together.
Installing Your Washer Pedestal Step by Step
You have your pedestal ready and your washer on standby. The process is straightforward, but you need to stay careful with a machine that weighs over 150 pounds. We have broken this down into simple phases so you can work through it without stress. Grab a friend, clear the floor space, and let us get that washer lifted.
Getting Your Tools and Space Ready
Before you touch the machine, gather everything you need. The pedestal kit usually includes four long bolts, four short bolts, and a few plastic caps. You will also need a socket wrench set with a deep socket that matches the bolt size. Many kits use a 10mm or 13mm socket, but you should check your manual first.
Clear the area around the washer completely. You need about three feet of open space on the side where you will tip the machine. Lay down a thick blanket or a piece of cardboard to protect your floor and the washer’s finish. We found that taking these ten minutes of prep time saves you from scratches and backtracking later.
Checking Your Model Compatibility Again
You already checked this in the intro, but do a quick double-check right now. Look at the model number sticker on the back or side of your washer. Match it against the list on the pedestal box. Many people skip this and end up with bolt holes that do not line up. It is easier to verify now than to deal with a wobbly setup later.
Tipping the Washer Safely
This is the scariest part for most people, but it is simple with two people. Unplug the washer and disconnect the water hoses from the wall. Move the machine away from the wall so you have room to work. Position the blanket on the floor where the side of the washer will rest.
One person grabs the top edge and the other holds the bottom corner. Slowly tilt the washer onto its side, resting it gently on the blanket. Make sure the side with the pedestal mounting holes faces down toward the floor. Take a breath. The machine is safe on its side, and now you can work comfortably.
Attaching the Pedestal Base Correctly
With the washer lying flat, you can now see the bottom frame and the mounting holes. This is where the pedestal attaches, and precision matters here. Line up the pedestal base with the holes on the washer’s underside. The drawer side of the pedestal should face the front of the washer.
Insert the long bolts through the pedestal base and into the washer frame. Hand-tighten each bolt first so you can adjust the alignment. Once all four bolts are in place, use your socket wrench to tighten them securely. Many experts say that a snug fit is non-negotiable here because a loose base causes serious shaking later.
Securing the Drawer Slides
This is the step people forget. Before you tip the washer upright, you need to connect the drawer slides to the pedestal base. The drawer itself has clips on the back that click into the slides. Look for small tabs on the slide rails and push the drawer in until you hear a click.
Slide the drawer open and closed a few times to make sure it moves smoothly. If it sticks, check that the clips are fully seated. We found that doing this now saves you from having to tip the washer again just to fix a drawer that will not close.
Leveling the Pedestal Feet
Most pedestals come with adjustable feet at the bottom corners. Screw these feet in or out so they are roughly level before you stand the washer up. You will fine-tune this after the machine is upright, but a rough starting point makes the final leveling easier. Loosen the lock nuts, adjust the feet, and tighten them back up.
Standing the Washer Upright
Now comes the moment to flip that heavy machine back up. Grab your helper again and position yourselves on opposite ends of the washer. One person supports the top and the other pushes the bottom. Lift with your legs, not your back, and slowly bring the washer to a vertical position.
Set the washer down gently on the pedestal. You should hear a solid thud as the base meets the floor. Do not drop it from a height, because the impact can dent the pedestal or crack the plastic drawer. Take a minute to check that the washer sits flush on the pedestal base. If you see a gap, the bolts might not be aligned correctly.
Reconnecting Your Water and Power
With the washer in its new elevated position, reconnect the water hoses to the wall valves. Hand-tighten these connections first, then use pliers to snug them up a quarter turn. Do not over-tighten, as this can strip the threads on the valve. Plug the power cord back into the outlet and make sure it reaches without stretching.
Now, slide the washer slightly back toward the wall. Remember that your machine now sits about 12 to 15 inches taller than before. Check that the drain hose still reaches the standpipe without kinking. A kinked drain hose causes water to back up into the washer and flood your floor.
Fine-Tuning the Level for a Smooth Spin
This step is critical for your machine’s lifespan. Place a bubble level on top of the washer, both front to back and side to side. Adjust the four feet on the pedestal base until the bubble sits perfectly in the center. Many guidelines point to proper leveling as the number one way to prevent vibration damage (Consumer Reports).
Tighten the lock nuts on each foot once you achieve a level position. Then, give the washer a gentle push from each corner. It should not rock or wobble. If it does, adjust the feet again. A rocking washer will walk across your laundry room floor during a heavy spin cycle.
Common Installation Mistakes to Avoid
You have done the hard work, but a few small mistakes can ruin the whole job. Skipping the leveling step is the biggest one. An unlevel washer thumps, shakes, and can break internal components over time. We also see people who forget to connect the drawer slides, which forces them to redo the entire installation.
Another common error is using the wrong bolt size. Forcing a bolt that is too long can puncture the washer’s inner tub, causing a leak you cannot see. Always test the bolt in the hole by hand first. If it does not thread smoothly, stop and check your kit for the correct fastener.
Protecting Your Warranty During Installation
Most manufacturers require that you use their specific pedestal model to keep your warranty intact. Installing a generic, off-brand pedestal may void coverage on certain parts. Check your washer’s warranty terms before you commit to a third-party product. Many experts say that using the matching brand’s pedestal is the safest route for warranty protection.
Keep all your receipts and the installation manual in a safe place. If you ever need to file a warranty claim, you will need to prove that you used the correct parts and followed the installation steps. We found that taking a photo of the completed setup is a smart habit that helps with documentation.
Testing Your Work Before Loading Laundry
Do not throw a heavy load of towels in right away. Run an empty cycle first, or better yet, run the “Clean Washer” cycle if your machine has one. This lets you check for leaks, unusual noises, and excessive vibration. Watch the machine throughout the entire cycle, especially during the spin phase.
Open the pedestal drawer halfway through the cycle to make sure nothing rattles or falls out. Close it and run your hand along the seams. You should not feel any air escaping, which signals a good seal. If everything looks and sounds smooth, you are good to go.
Storing Detergent and Supplies in the Drawer
Now comes the fun part. The drawer gives you a perfect spot for your bulky supplies. We recommend a simple organization system to keep things easy to grab:
- Extra detergent pods in a sealed plastic container.
- Fabric softener sheets in a small box.
- Stain remover spray and a dedicated brush.
- Lint roller for quick touch-ups before drying.
- Rubber gloves for messy cleanups.
- Measuring cup for liquid detergent.
Keep heavy items like full detergent bottles on the bottom of the drawer. This keeps the center of gravity low and prevents the drawer from bending under the weight. Do not overload the drawer. Most pedestals hold only about 25 pounds, so check your manual for the specific limit.
Final Safety Check for Everyday Use
Your washer is now elevated, storage-ready, and running smoothly. Do one last sweep of the area. Make sure the water hoses are not pinched between the washer and the wall. Ensure the power cord is not trapped under a pedestal foot. Clear any tools or packing materials from the surrounding floor.
When you use the pedestal drawer, always push it closed gently until you hear the click. Do not slam it. This keeps the slide mechanism in good shape. Also, wipe out any spills inside the drawer immediately. Laundry detergent is corrosive and can rust the metal slides over time.
You did it. Your washer is now at a comfortable height, and you have extra storage. The whole job takes about thirty minutes, and you just saved yourself a service call fee. Next time you are loading laundry, you will appreciate not bending over to reach the drum.
Conclusion
You just saved yourself a service call fee and gained a comfortable laundry setup. The whole job boils down to checking compatibility, flipping the washer safely, and securing every bolt before standing it back up. Remember to level those feet and run an empty cycle before your first real load.
Your back will thank you every single time you load laundry without bending over. The storage drawer is a bonus you will use daily. If you ran into any snags along the way, double-check your model number and bolt alignment. You have got this handled, and your laundry room just got a serious upgrade.
Frequently Asked Questions
Can you install a washer pedestal by yourself?
Technically you can, but we strongly recommend a helper. A washer weighs over 150 pounds, and tipping it safely on its side is risky alone. You risk denting the machine or injuring your back. Grab a friend for the 10 minutes you actually need to lift.
Do you have to remove the washer feet before installing a pedestal?
No, you can leave the washer’s original feet attached in most cases. The pedestal base simply bolts to the washer’s bottom frame, and the feet rest inside the pedestal structure. Check your specific pedestal manual to confirm, but most brands design the base to accommodate the original feet.
Will a pedestal make my washer too tall to open?
Most top-load washers work fine with a pedestal because the lid opens vertically. Front-load washers are the more common match for pedestals, and they still open easily at the raised height. Just measure your space first to make sure you have clearance for the lid or door swing.
How long does it take for a professional to install a washer pedestal?
You are looking at about 30 minutes for a pro, and you can do it in the same time. The process is straightforward with the right tools and a helper. Most of the time goes into careful lifting and leveling, not the actual bolt work.
Why does my washer shake on the new pedestal?
Your pedestal feet are not level. Use a bubble level on top of the washer and adjust each corner foot until the bubble sits centered. Tighten the lock nuts after each adjustment. Also, confirm all four pedestal-to-washer bolts are snug, since a loose base amplifies vibration during spin cycles.