How to Empty Fresh Water Tank in RV: A Complete Step-by-Step Guide
Understanding Your RV’s Fresh Water System
When you own an RV, you’re essentially living in a mobile home that operates quite differently from a traditional house. One of the most critical systems you’ll manage is your fresh water tank. Think of it as the lifeline of your RV—it supplies all the water you need for drinking, cooking, showering, and washing dishes while you’re on the road.
Your fresh water tank is typically located under the RV’s chassis, protected from the elements but still exposed to temperature fluctuations. Unlike your home’s plumbing system that connects to municipal water sources, your RV’s fresh water tank is self-contained. This means you’re responsible for filling it, maintaining it, and yes, emptying it when necessary.
How the Fresh Water Tank Works
The fresh water tank operates through a relatively simple mechanism. Water enters the tank through an inlet valve, usually located on the exterior of your RV. Once inside, the water stays stored until you need it. A water pump pressurizes the system, allowing water to flow through your pipes to various outlets throughout your RV—your kitchen sink, bathroom sink, shower, and toilet.
What many RV owners don’t realize is that this closed system can accumulate sediment, bacteria, and minerals over time, especially if you’re filling up from different sources along your travels. This is precisely why knowing how to properly empty and maintain your fresh water tank is essential for your health and your RV’s longevity.
Why Emptying Your Fresh Water Tank Matters
Seasonal Maintenance Requirements
There are several reasons why you might need to empty your fresh water tank. The most common reason is winterization. If you live in or travel to areas where temperatures drop below freezing, water inside your tank and pipes can expand as it freezes, potentially causing catastrophic damage to your plumbing system. By emptying the tank before winter arrives, you prevent this expensive problem from occurring.
Health and Safety Considerations
Another critical reason to empty your fresh water tank periodically is health and safety. Stagnant water sitting in your tank for weeks or months can become a breeding ground for bacteria and mold. If you’ve left your RV parked for an extended period, emptying and flushing the tank before using it again ensures you’re drinking clean, safe water.
Storage and Transition Purposes
You might also need to empty your tank when selling your RV, storing it for an extended period, or transitioning from one season to another. Some RV owners prefer to travel with partially empty tanks to reduce weight and improve fuel efficiency.
Tools and Supplies You’ll Need
Before you begin the process of emptying your fresh water tank, gather the necessary tools and supplies. Having everything ready beforehand makes the job smoother and prevents unnecessary frustration.
- A bucket or container for collecting small amounts of water
- A hose or siphon kit designed for fresh water systems
- A wrench or socket set for accessing the drain valve
- Gloves to keep your hands clean
- Towels or rags for cleanup
- A flathead screwdriver for certain valve types
- Safety glasses to protect your eyes
- A designated drainage area away from your living space
Step-by-Step Guide to Emptying Your Fresh Water Tank
Step One: Locate Your Fresh Water Tank Drain Valve
The first step in draining your fresh water tank is locating the drain valve. This valve is typically found underneath your RV, near the fresh water tank itself. Consult your RV’s manual if you’re unsure about the exact location, as different RV models place this valve in different spots.
Walk around the exterior of your RV and look for a small valve or petcock—it often resembles a faucet or knob. Some RVs have multiple drain points, so you might find more than one. The fresh water tank drain is distinct from your gray water and black water tank drains, so make sure you’re looking at the right one.
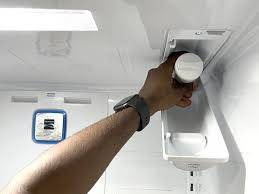
Step Two: Turn Off Your Water Pump
Before you open any drain valves, you need to disable your water pump. This is an important safety step that prevents water from flowing into the tank while you’re trying to empty it. Your water pump switch is typically located inside your RV near your electrical panel or water heater. Simply flip it to the off position.
You should also turn off any water heater if your RV has one. Most RVs feature a tankless water heater or a small tank heater, and you don’t want water flowing through these systems while you’re draining the main tank.
Step Three: Release Pressure from the System
After turning off your pump, you need to relieve any remaining pressure in your plumbing lines. Open a faucet inside your RV—either in the kitchen or bathroom—and let any residual water drain out. This step ensures that opening your drain valve won’t result in unexpected water spraying everywhere.
Leave the faucet open while you proceed to the next steps. This maintains an open air vent in your system, allowing water to drain more efficiently from the tank.
Step Four: Position Your Drainage Container
Now it’s time to get practical. Position your bucket or drainage container directly under the drain valve. If your RV is parked near a suitable drainage area, you might want to position a larger container or direct a hose toward that area instead. This prevents water from pooling under your RV, which could damage its exterior or create a slip hazard.
Make sure your container is stable and won’t tip over during the draining process. Some RV owners use a small sump pump to direct water to a more appropriate location, which is especially useful if you’re at a campsite with specific drainage requirements.
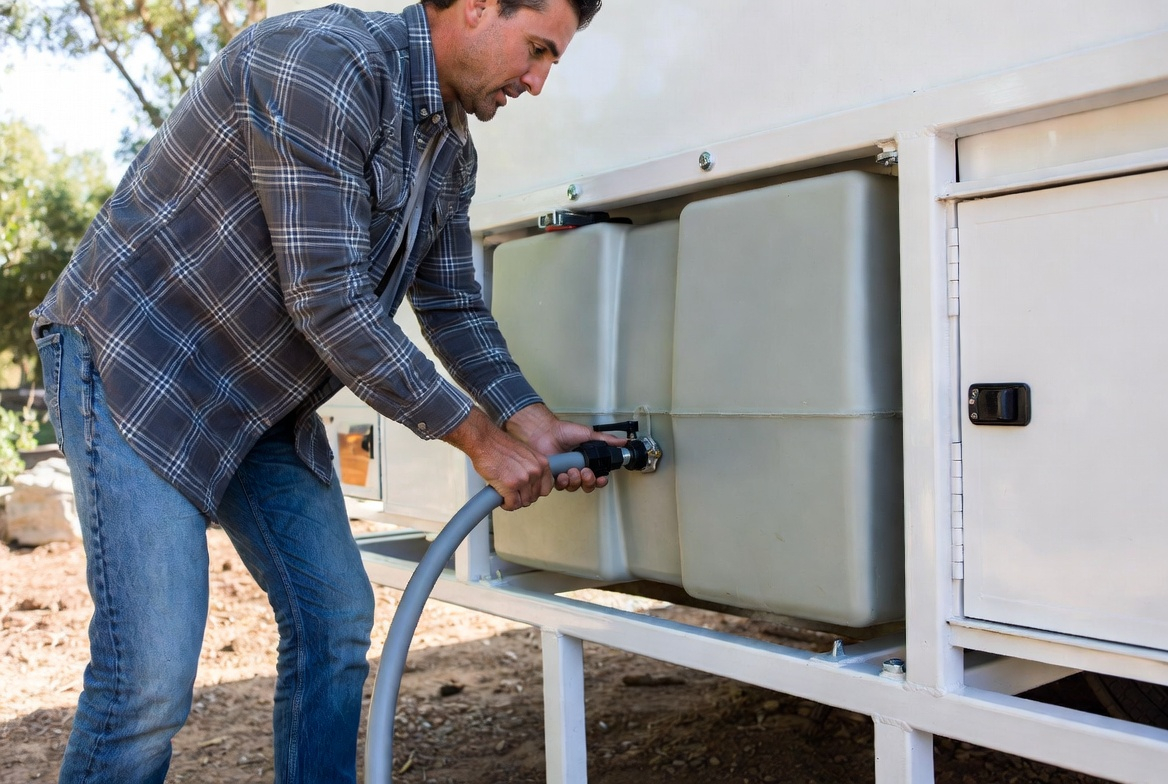
Step Five: Open the Drain Valve
Now for the main event—opening the fresh water tank drain valve. Using your wrench or by hand if the valve has a knob, slowly turn the valve counterclockwise to open it. Don’t rush this step; opening it too quickly can cause water to splash out forcefully.
As water begins to flow, you might notice sediment or discoloration in the water. This is completely normal and actually indicates why regular tank draining is important. The longer your tank sits unused, the more sediment accumulates on the bottom.
Step Six: Allow Complete Drainage
Be patient during this step. Depending on how full your tank is and the size of your drain valve, complete drainage can take anywhere from 15 minutes to an hour. Don’t try to speed up the process by forcing the valve wider; slower drainage is actually better because it allows sediment to flow out more completely.
While waiting, this is a good time to inspect your tank and plumbing system. Check for any leaks, corrosion, or signs of damage around the drain valve and connecting pipes.
Step Seven: Flush the Tank
Once the tank appears empty, don’t close the drain valve just yet. It’s time to flush the system to remove any remaining sediment. Turn your water pump back on briefly while keeping the drain valve open. This sends fresh water through the tank, pushing out any debris that might be stuck to the tank bottom.
You’ll likely see more cloudy or discolored water. Keep the pump running and flushing for 30 to 60 seconds, then turn it off again. Repeat this process two or three times until the water flowing out becomes relatively clear.
Step Eight: Close the Drain Valve
After flushing, turn the drain valve clockwise to close it securely. Make sure it’s completely closed to prevent water from leaking out when you refill the tank. Turn it firmly but don’t over-tighten, as this can damage the valve.
Also close the faucet you opened inside your RV to maintain pressure in the system. Your fresh water tank is now empty and your system is ready for storage, winterization, or refilling.
Winterization Considerations for Your Fresh Water System
When to Winterize Your RV
If you’re emptying your fresh water tank as part of winterization—preparing your RV for freezing temperatures—there are additional steps you should take beyond simply draining the tank. Winterization is crucial if you live in areas where temperatures consistently drop below 32 degrees Fahrenheit during winter months.
Using RV Antifreeze After Draining
After you’ve emptied and flushed your fresh water tank, many RV owners add RV-specific antifreeze to the remaining water in the pipes. This antifreeze is non-toxic and designed specifically for this purpose. You’ll need to run it through all your water lines, faucets, and fixtures to ensure complete protection against freeze damage.
Don’t use regular automotive antifreeze—it’s toxic and dangerous for systems that deliver drinking water. RV antifreeze is available at most RV supply shops and camping retailers.
Protecting Your Water Heater
Your RV’s water heater also needs winterization. Many models have a drain plug that should be opened after the main tank is drained. Some RV owners bypass the water heater entirely during winterization to prevent damage to this expensive component.
Common Mistakes to Avoid When Draining Your Fresh Water Tank
Forgetting to Turn Off the Water Pump
This is the most common mistake RV owners make. If you forget to turn off your water pump, it will continue trying to pressurize the system even as water is draining out. This not only makes the draining process take longer but can also damage your pump if it runs dry.
Draining Into Inappropriate Areas
Always make sure you’re draining your fresh water tank into an appropriate location. Never drain potable water into areas where it could contaminate groundwater or create environmental problems. If you’re at a campsite, check with the management about proper drainage procedures.
Closing the Drain Valve Too Tightly
It’s tempting to close the valve as tightly as possible to ensure it doesn’t leak, but over-tightening can damage the valve seat or the valve itself. Turn it snugly but don’t use excessive force.
Skipping the Flush Step
Some owners think that simply opening the drain and letting water flow out is sufficient. However, skipping the flushing step means sediment remains in your tank. This sediment can affect water quality and potentially harbor bacteria even after draining.
Not Checking for Leaks Afterward
After you’ve closed the drain valve and refilled your tank, always check for leaks around the valve and drain area. If you notice water dripping after closing the valve, you may need to tighten it slightly or have it serviced if it’s damaged.
Post-Draining Maintenance and Care
Inspecting Your Tank and Plumbing
While your fresh water tank is empty, it’s an excellent opportunity to inspect your entire water system. Look for signs of corrosion, damage, or wear on visible pipes and connections. If you notice any problems, address them before refilling the tank.
Cleaning Your Tank Interior
For RV owners dealing with particularly sediment-heavy water or who haven’t drained their tank in a long time, consider adding a tank cleaning tablet designed for RVs. These dissolve in fresh water and help break down mineral deposits and sediment on the tank interior. Simply fill your tank partially, drop in the tablet, let it soak, then drain again.
Replacing Your Water Filter
If your RV has an inline water filter, now is a good time to replace it. A fresh filter ensures that any particulates in your new water supply won’t contaminate your tank or affect water quality. Many RV owners replace their water filter twice yearly—once before the camping season begins and once before winterization.
Testing Your Water System After Refilling
Once you’ve drained, flushed, and maintained your system, test it thoroughly before using the water for drinking or cooking. Refill your tank and check that all faucets function properly, that your shower has adequate pressure, and that your toilet flushes correctly. This ensures everything is working as it should be.
Understanding Your RV’s Water Capacity and Usage
Understanding how much water your RV’s fresh water tank holds helps you manage water usage more effectively. Most RVs have tanks ranging from 30 to 100 gallons, with average-sized travel trailers typically holding around 40 to 60 gallons. Larger motorhomes might have 75 to 100-gallon tanks or more.
Knowing your tank capacity helps you plan when you need to empty it. If you use approximately 10 gallons per day and your tank holds 50 gallons, you know you’ll need to refill every five days of boondocking without a hookup.
When You Should Empty Your Fresh Water Tank
Regular Maintenance Schedule
Even if you’re actively using your RV, consider completely draining and flushing your fresh water tank at least twice yearly. This preventative maintenance helps keep your water system clean and healthy.
After Extended Storage
If you’ve stored your RV without using it for several weeks or months, always drain and flush the tank before using the water again. Stagnant water is a breeding ground for bacteria and mold.
Before Long Trips
Many experienced RV owners drain their fresh water tank right before embarking on a long journey. This ensures they start with a clean tank and fresh water, improving water quality throughout their trip.
Conclusion
Emptying your fresh water tank in your RV is an essential maintenance task that every RV owner should know how to perform properly. While the process might seem intimidating at first, it’s actually quite straightforward once you understand the steps involved. By following this comprehensive guide—from locating your drain valve to flushing your system and checking for leaks—you’ll ensure that your fresh water system remains clean, functional, and safe for years to come.
Remember that proper maintenance of your fresh water tank isn’t just about following a checklist; it’s about taking pride in your RV and ensuring that every system operates at its best. Whether you’re winterizing your RV, preparing it for storage, or simply performing routine maintenance, the knowledge you’ve gained here will serve you well. Your fresh water system is the heart of your RV’s daily comfort, so treat it with the care it deserves.
Frequently Asked Questions
How often should I completely drain and flush my RV’s fresh water tank?
It’s recommended that you completely drain and flush your fresh water tank at least twice per year as part of regular maintenance. However, if your RV