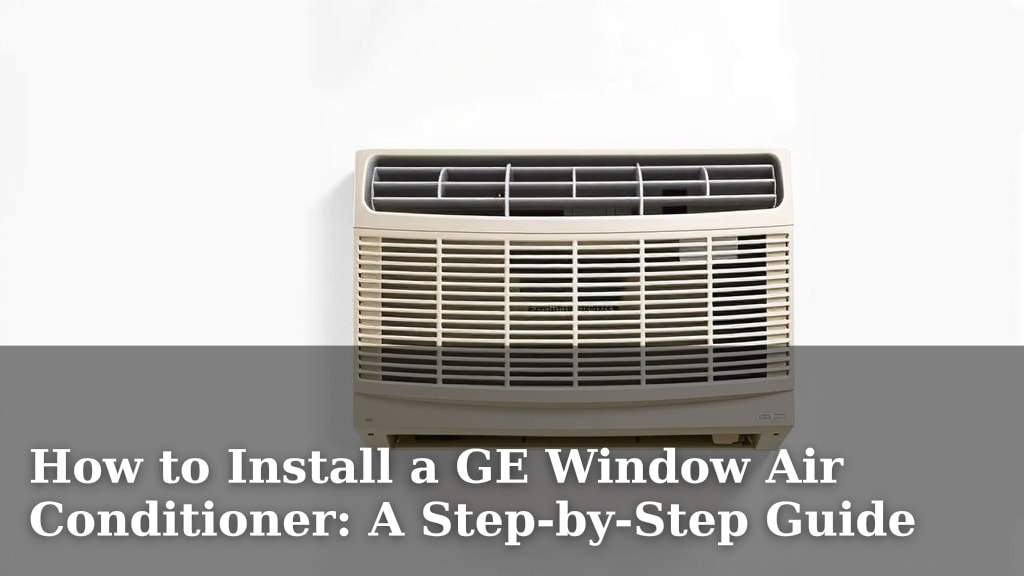
How to Install a GE Window Air Conditioner: A Step-by-Step Guide
You can absolutely install a GE window air conditioner yourself with a few basic tools and some careful steps. Proper installation is key to ensuring your AC cools effectively and operates safely. This guide will walk you through the process.
Many homeowners find this a manageable DIY project. We’ll cover everything from checking your window type to securing the unit firmly. Getting this right means enjoying a cooler home without needing professional help, saving you money and hassle.
- Measure your window opening first.
- Gather the right tools and safety gear.
- Follow the included installation manual closely.
- Ensure the unit is properly supported and sealed.
- Test the air conditioner after installation.
Ready to beat the heat? Let’s walk through exactly how to install your GE window air conditioner step by step.
Installing Your GE Window Air Conditioner: A DIY Guide
Getting your new GE window air conditioner installed correctly is the first step to enjoying a cool and comfortable home. You can absolutely tackle this project yourself with some preparation and careful work. Following these steps will help ensure your AC runs efficiently and safely.
Before You Start: What to Check
Measuring Your Window Opening
Before you even think about unpacking your new air conditioner, you need to measure your window opening. This is super important. Most GE window AC units come with a size range they can fit into. You don’t want to buy an AC that’s too big or too small for your window.
You’ll need a tape measure for this. Measure the width and height of the space where the air conditioner will sit. Make sure you measure the inside of the window frame.
GE provides specific dimensions for each AC model. Always compare your window measurements to the unit’s specifications. This prevents a frustrating mismatch later.
Window Types and Compatibility
Not all windows are created equal, and some might make installation trickier. Most GE window ACs are designed for standard double-hung windows. These windows slide up and down.
If you have casement windows (they crank open sideways) or sliding windows (they move side-to-side), you might need a special mounting kit. Research if your specific GE model offers a kit for your window type. GE has accessory kits for different window styles.
Some older homes might have windows that are not quite square or level. This can present challenges. A bit of extra work sealing gaps might be needed. It’s good to be aware of this upfront.
Gathering Your Tools and Supplies
Essential Tools for Installation
Having the right tools makes the job go much smoother. You’ll likely need a screwdriver set, a drill with appropriate bits, and possibly a wrench or pliers.
A level is also a must-have. You want to ensure the air conditioner is installed with a slight tilt outwards. This helps with drainage.
Don’t forget a pencil or marker for any measurements or marking points. You might also want a utility knife for cutting packaging or tape.
Safety Gear to Consider
Safety first, always! Window air conditioners can be surprisingly heavy. It’s a good idea to have someone help you lift and position the unit.
Wear work gloves to protect your hands. Safety glasses are also recommended, especially if you’re drilling or working with old window frames.
Make sure you have a sturdy step ladder if needed. You want to feel secure and stable while working.
Included Installation Hardware
Your GE window air conditioner should come with some basic installation hardware. This usually includes an accordion-style side curtain that expands to fill the gap. You’ll also find brackets and screws.
It’s crucial to check the contents of the box against the installation manual. Make sure you have everything before you begin. Missing parts can cause delays.
Sometimes, you might need additional supplies like foam insulation tape or caulk. These are helpful for sealing any remaining gaps. This ensures efficient cooling and prevents drafts.
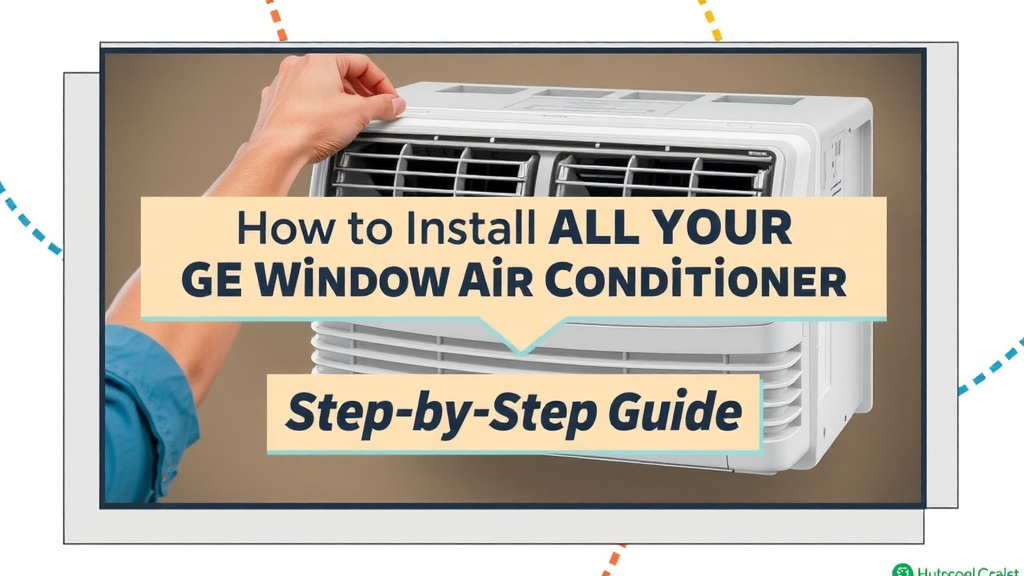
Step-by-Step Installation Process
Preparing the Window
First, you need to prepare your window. Open the window fully. If it’s a double-hung window, lower the top sash and raise the bottom sash as far as they will go.
Remove any screen that might be in the way. You’ll usually reattach it later, or use the AC’s side curtains. Clean the window sill and the inside frame.
You might need to remove any old weather stripping that’s falling apart. A clean, smooth surface is best for a good seal. This is a good time to check for any loose panes or rotten wood.
Positioning the Air Conditioner
Now for the exciting part: placing the unit. With help, carefully lift the air conditioner. The manual will indicate the correct orientation.
Gently slide the unit into the window opening. The bottom of the AC should rest securely on the window sill. The back of the unit should extend slightly outside.
It’s important to center the air conditioner in the opening. This ensures the side curtains will fit properly. You don’t want it leaning heavily to one side.
Ensuring the Correct Tilt
This is a critical step for drainage. Your GE window AC needs to be tilted slightly forward, towards the outside. This allows condensation to drip outside, not inside your home.
Use your level on the top of the air conditioner unit. Aim for about a 1/2-inch to 1-inch drop from the back to the front. The installation manual will specify the exact recommended tilt.
You can often achieve this tilt by adjusting the lower sash of the window or using shims if needed. A proper tilt prevents water damage and keeps your room dry. It’s an often-overlooked detail that makes a big difference.
Installing Support Brackets and Side Curtains
Next, you’ll secure the unit. Many GE models come with support brackets that attach to the window frame and the AC. Follow the manual precisely for bracket placement.
These brackets prevent the AC from falling out. They bear a lot of the unit’s weight. Ensure they are firmly screwed into the window frame.
Now, install the side accordion curtains. These panels slide out from the sides of the AC unit. Extend them to fill the gaps between the AC and the window frame. Secure them with the provided screws or clips.
Sealing Gaps for Efficiency
Once the unit is in place and secured, you need to seal any remaining air gaps. This is vital for efficiency and comfort.
Use the foam insulation tape that often comes with the unit. Apply it around the edges where the AC meets the window frame and sash.
If there are larger gaps, you might need to use caulk or weather stripping. These sealants keep the cool air in and the hot air out. A good seal means your AC works less and saves energy.
Final Checks and Testing
Before you plug in your new AC, do a final check. Make sure the unit is stable and doesn’t wiggle. All screws should be tight.
Ensure the window sash is locked down securely against the unit. This adds to the security and seals the top.
Now, plug in your GE window air conditioner. Turn it on and select a cool setting. Listen for any unusual noises. Check that it’s blowing cold air.
Checklist for a Smooth Installation
- Confirm window measurements match AC specifications.
- Gather all necessary tools and safety gear.
- Read and follow the GE installation manual carefully.
- Ensure the AC is level with a slight forward tilt.
- Secure all support brackets and seals tightly.
- Test the unit to confirm it’s cooling properly.
Conclusion
You’ve successfully learned how to install your GE window air conditioner yourself! By carefully measuring your window, gathering the right tools, and following the step-by-step process, you’ve set yourself up for a cooler, more comfortable home. Remember that ensuring a secure fit and proper tilt for drainage are key to efficient and safe operation. Now that your AC is installed, you’re ready to enjoy the benefits all season long. Double-check all connections before enjoying that first blast of cool air!
Frequently Asked Questions
Can I install a GE window AC in a casement window?
GE window air conditioners are primarily designed for double-hung windows. For casement windows that crank open sideways, you’ll likely need a special mounting kit. Check if your specific GE model offers an adapter kit, or research universal mounting solutions designed for casement windows.
How do I ensure the AC is tilted correctly for drainage?
You need to ensure your GE window AC has a slight downward tilt towards the outside. Use a level on the top of the unit, aiming for a drop of about a half-inch to an inch from back to front. Your installation manual will provide the exact recommended tilt for your model.
My window doesn’t seem perfectly level. How does this affect installation?
Slightly unlevel windows can present a challenge. You’ll need to compensate to achieve the correct forward tilt for drainage. You might need to use shims under the unit or adjust the window sash carefully to get that critical angle right.
What should I do if there are still small gaps after installing the side curtains?
Even after installing the side curtains, small gaps can occur. Use the foam insulation tape provided with your AC, or purchase some separately, to seal these areas. For larger gaps, exterior caulk designed for windows can provide a more permanent seal.
Is it necessary to have a helper when installing a window AC unit?
Yes, having a helper is highly recommended, especially for larger window air conditioners. These units can be quite heavy and awkward to maneuver. A second person ensures safety and makes positioning the unit much easier and less risky.
![7 Best Window Air Conditioner For Garage [2026]](https://bathroomexplorer.com/wp-content/uploads/2026/07/7-best-window-air-conditioner-for-garage-2026-featured-768x432.jpg)
![7 Best Portable Wall Air Conditioner [2026]](https://bathroomexplorer.com/wp-content/uploads/2026/06/7-best-portable-wall-air-conditioner-2026-featured-768x432.jpg)