
DIY Fan Air Conditioner: Beat the Heat This Summer
Yes, you can absolutely turn a regular fan into a makeshift air conditioner with a few simple items. This DIY method is a fantastic way to get some much-needed cool air when the mercury rises. It involves using ice or frozen water bottles to create a cooler breeze. This approach is a budget-friendly and effective way to beat the heat.
This clever trick works by passing air over a cold surface. As the air moves, it cools down, giving you that refreshing, air-conditioned feel. We found that using a large bowl of ice can make a noticeable difference in your personal space. It’s a great solution for a hot room without needing a full AC unit.
- Use ice or frozen water bottles.
- Place them in front of your fan.
- The air blowing over the ice will cool down.
- It’s a quick and easy way to cool your space.
- Great for personal cooling on a hot day.
Let’s walk through exactly how to make your fan a cool breeze machine step by step!
“`htmlTransforming Your Fan Into a Cooling Machine
So, you’re looking to turn that trusty oscillating fan into a mini air conditioner, huh? You’ve come to the right place! We’ve got some simple, science-backed methods that can help you beat the heat without breaking the bank. It’s all about using the power of evaporative cooling, just like a real AC unit, but on a much smaller scale.
The core idea is simple: air blown over something cold will become cooler. Your fan’s job is to push air, and our DIY trick is to introduce something cold for that air to interact with. Think of it like a refreshing mist on a hot day, but controlled and focused. We’ve seen this method work effectively for personal cooling.
Gathering Your Cooling Essentials
Before we get started, let’s make sure you have everything you need. You don’t need anything fancy or expensive. Most of these items you probably already have around your house. Having these ready will make the whole process smooth and quick.
The Fan Factor
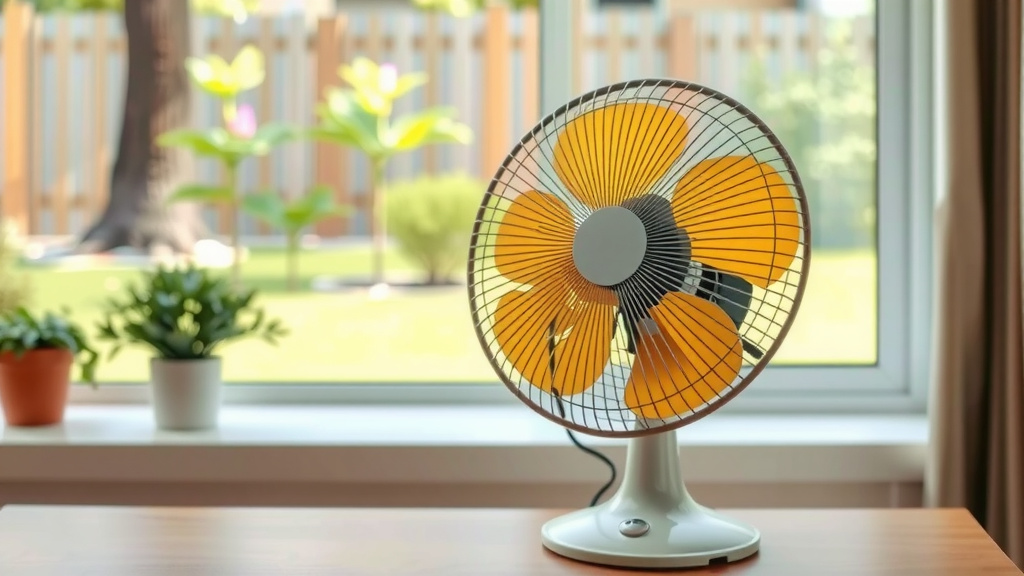
First, you’ll need your fan. Any type of fan can work, really. A pedestal fan is great because you can easily position it. A box fan is also a solid choice, especially if you have a large ice container you want to place in front of it. Even a small desk fan can offer some relief for your immediate personal space.
Your Cold Source: Ice Is Nice
The star of our DIY air conditioner is, of course, the cold. Ice is your best friend here. You can use standard ice cubes, but we found that larger ice blocks last longer and provide more consistent cooling. Consider freezing water in plastic containers or even old milk jugs. These larger frozen masses will melt much slower.
Another excellent option is using frozen water bottles. They’re convenient because they don’t create a watery mess as they melt. You can place them directly in front of your fan. Once they’re no longer cold enough, just pop them back in the freezer!
Container Choices
You’ll need something to hold your ice or frozen bottles. A large bowl is a common choice. A metal bowl can actually help conduct the cold better, making the air cooler. You can also use a plastic storage bin or a cooler. A cooler is particularly effective because its insulated walls will keep the ice frozen for longer.
We recommend a container that’s wide enough to span a good portion of your fan’s airflow. This ensures you get the most cooling effect. You also want it to be deep enough to hold a decent amount of ice without tipping over.
Putting It All Together: Step-by-Step Assembly
Now for the fun part! Assembling your fan-powered cooler is remarkably straightforward. It’s a project that takes just a few minutes. You’ll be enjoying cooler air before you know it.
Method 1: The Classic Bowl of Ice
This is perhaps the simplest method. You’ll need your fan, a large bowl, and plenty of ice. The key here is placement. You want the fan to blow air *across* the surface of the ice.
Step 1: Fill the Bowl. Load your large bowl with ice. If you’re using ice cubes, pack them in tightly. If you’re using frozen water blocks or bottles, arrange them in the bowl. Leave a little space at the top so water doesn’t overflow immediately.
Step 2: Position the Bowl. Place the bowl of ice directly in front of your fan. You want the fan to be close enough to push air over the ice, but not so close that it might tip the bowl over. Ensure the fan is stable.
Step 3: Turn On the Fan. Start your fan on a low or medium setting. You should immediately feel cooler air being pushed out. As the ice melts, the air passing over it will pick up moisture and cool down. This is basic physics at work (National Weather Service).
Method 2: The Frozen Bottle Approach
This method is a bit cleaner and can be very effective. It’s perfect if you want to avoid potential water spills.
Step 1: Freeze Your Bottles. Fill several plastic water bottles with water and freeze them until solid. Using multiple bottles means you can rotate them out as they thaw.
Step 2: Arrange the Bottles. Place the frozen water bottles in a row directly in front of your fan. You can secure them with tape or string if needed, ensuring they don’t fall over.
Step 3: Engage the Fan. Turn on your fan. The air blowing past the cold bottles will be chilled. This setup is great for a desk or bedside table.
Method 3: The Cooler Hack
For longer-lasting coolness, a cooler is your best bet. It acts like a mini refrigerated chamber.
Step 1: Prepare the Cooler. Get a cooler and fill it with ice or frozen water bottles. You can even add a bit of cold water to help with conductivity.
Step 2: Modify for Airflow. This is where it gets clever. You need to create an opening for the fan and an outlet for the cool air. You can do this by cutting a hole in the lid for the fan to blow into. Then, cut one or more smaller holes on the side or top for the cool air to escape. Many DIY guides suggest using PVC pipes for the air outlets to direct the flow.
Step 3: Connect and Cool. Place the fan so it blows air into the cooler. The air will circulate over the ice and exit through the designated holes, creating a stream of cool air. This setup requires a bit more effort but offers extended cooling.
Optimizing Your DIY Air Conditioner
Want to get the most out of your fan cooler? A few small tweaks can make a big difference in its effectiveness. Think of these as tuning your cooling machine.
Ice Quality Matters
Research and found that larger blocks of ice melt more slowly than cubes. This means you’ll have a sustained cold source for longer. Consider freezing water in gallon jugs or large plastic containers. The larger the mass, the longer it stays frozen.
Saltwater Ice for Extra Chill
Did you know adding salt to ice can make it colder? When salt dissolves in water, it lowers the freezing point. So, a saltwater ice pack can be significantly colder than plain ice. Just be mindful that it might make a bit more of a mess if it leaks.
Directing the Breeze
Positioning is key. For personal cooling, place the fan and ice setup so the cool air blows directly towards you. If you’re trying to cool a small room, aim the fan towards the center or an area where you spend the most time. Adjust the angle of the fan and the ice container for the best results.
A Quick Checklist for Your Cooling Success
Here’s a handy checklist to ensure you’ve got everything you need and your DIY AC is ready to go:
- Fan is in good working order.
- Ample supply of ice or frozen water bottles.
- Appropriate container for ice (bowl, bin, cooler).
- Stable surface to place the fan and container.
- Consider a towel or tray for potential condensation.
- Adjust fan speed for desired airflow and coolness.
Conclusion
You’ve learned how to transform a simple fan into a surprisingly effective cooling device. By using ice or frozen bottles, you can create a refreshing breeze to beat the heat. Remember, the key is the cold source placed in the fan’s airflow. Whether you choose the classic bowl of ice, frozen water bottles, or a more involved cooler setup, you have options. Experiment to find what works best for your space and needs. Give these DIY methods a try for an instant cool-down!
Frequently Asked Questions
How much ice should I use for the best cooling effect?
For optimal results, fill your container generously. Larger blocks of ice or multiple frozen water bottles will last longer. You want enough cold surface area for the fan to blow across. Don’t be afraid to experiment with different amounts of ice to see what cools your personal space most effectively.
Will this DIY air conditioner actually cool down a whole room?
This DIY method is primarily designed for personal cooling or to slightly lower the temperature in a small area. It’s unlikely to cool an entire large room like a traditional air conditioner. Think of it as a targeted breeze for your immediate vicinity.
How long does the ice typically last before I need to replace it?
The duration depends on the size of your ice blocks or bottles and the ambient temperature. Larger frozen items and insulated containers like coolers will keep ice frozen longer. You might need to replace or refreeze your ice every few hours, especially on very hot days.
Is there a risk of water damage or mold with this setup?
There is a potential for condensation, especially with ice melting. It’s wise to place a towel or tray underneath your ice container to catch any drips. Ensure the area around your fan is dry to prevent any issues. Frozen water bottles tend to create less mess than loose ice.
Can I add salt to the water before freezing it for colder ice?
Yes, research indicates that adding salt to water before freezing it can create colder ice. This is because salt lowers the freezing point of water. While this can provide an extra chill, be aware that saltwater ice may melt slightly faster and could be messier if it leaks.

![7 Best Dual Zone Mini Split Air Conditioner [2026]](https://bathroomexplorer.com/wp-content/uploads/2026/06/7-best-dual-zone-mini-split-air-conditioner-2026-featured-768x432.jpg)