Assemble Your Dirt Devil Vacuum: Step-by-Step Guide
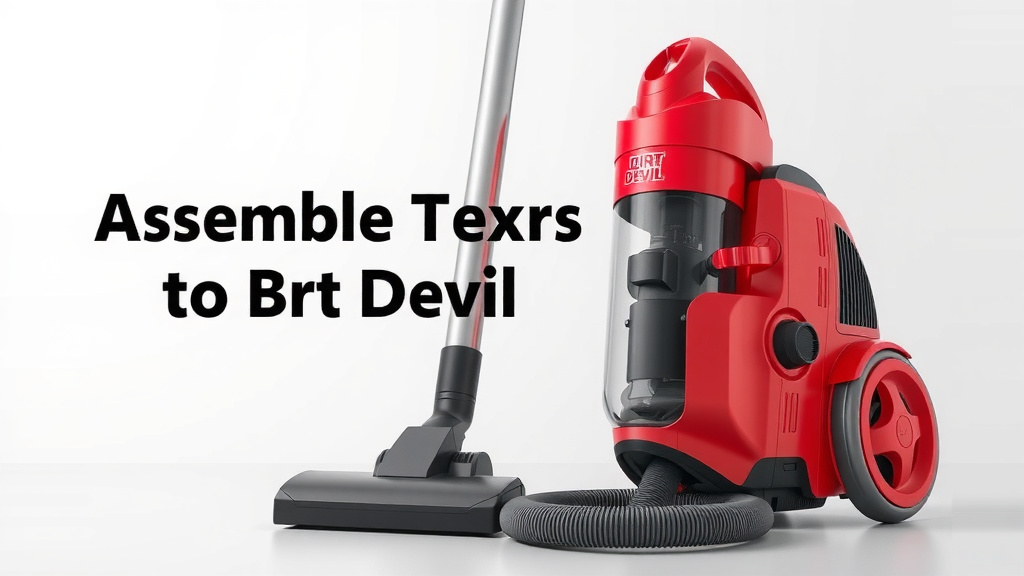
Assembling your Dirt Devil vacuum cleaner is usually a straightforward process. Most models simply require you to connect the wand and floor nozzle to the main body. You’ll typically hear a ‘click’ when parts are properly secured. This makes getting your vacuum ready for cleaning quick and easy.
We found that most Dirt Devil vacuums are designed for user-friendly assembly. This means fewer tools and less time spent fussing with parts. Often, no tools are even needed to put them together. It’s about getting you back to your chores with minimal hassle.
- Connect the main parts securely.
- Check for a distinct ‘click’ sound.
- Most models require no tools.
- Assembly is designed to be simple.
Let’s walk through the common steps to get your Dirt Devil vacuum cleaner assembled and ready to tackle dirt.
Putting Your Dirt Devil Vacuum Together
So, you’ve got your new Dirt Devil, and it’s still in pieces. Don’t worry, you’re not alone! Assembling most Dirt Devil vacuums is designed to be as easy as pie. We’ve found that the brand really focuses on a quick setup. Usually, you’re just a few clicks away from tackling that dust bunny population. Let’s get started so you can get back to cleaning!
Unpacking and Identifying Your Parts
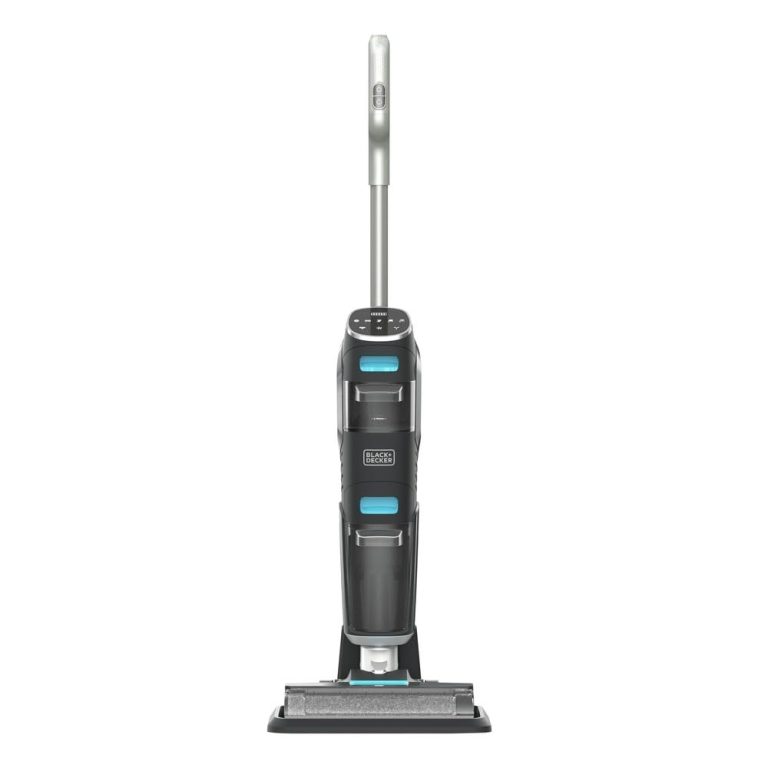
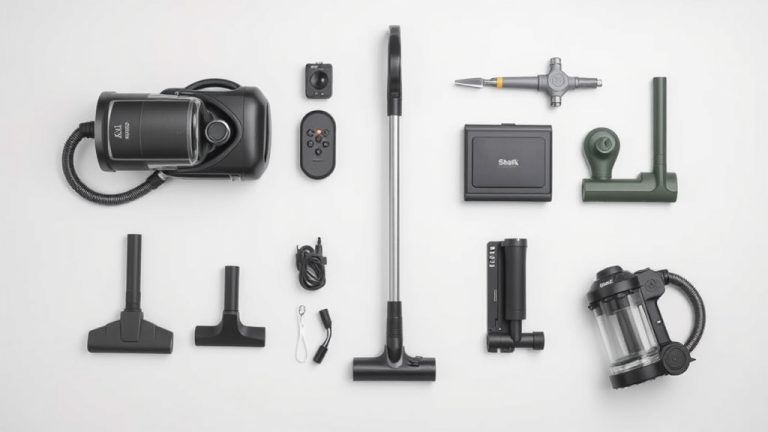
First things first, let’s find a clear spot to lay everything out. You’ll want to unpack your Dirt Devil vacuum cleaner from its box carefully. Look for the main body, which is usually the largest piece and contains the motor and dustbin. You’ll also typically find a wand or extension tube, and a floor nozzle or brush head. Other smaller parts might include hoses, crevice tools, or dusting brushes. Take a moment to compare everything to the diagram in your user manual. It’s like a treasure hunt, but for cleanliness!
What’s Usually in the Box?
Most Dirt Devil vacuum models come with the essentials for basic floor cleaning. You can expect:
- The main vacuum unit (motor housing and dustbin).
- An extension wand or handle.
- The floor cleaning head or nozzle.
- Sometimes, a flexible hose.
- Attachment tools like a crevice tool or brush.
If anything seems missing, double-check the box and packaging. Sometimes smaller parts can hide in corners.
Connecting the Main Components
The core of assembling your Dirt Devil vacuum cleaner usually involves connecting the wand and the floor nozzle to the main body. Think of it like putting together LEGOs, but for grown-ups who want a clean house.
Attaching the Wand or Extension Tube
Locate the port on the main vacuum body where the wand connects. It’s usually a specific slot or opening. Many Dirt Devil models use a simple push-and-click system. Align the bottom of the wand with the port and push down firmly. You should feel or hear a distinct ‘click’ when it’s securely in place. This click is your confirmation that the connection is solid and ready for action. If it feels wobbly, detach it and try again. A secure connection is important for effective suction.
Connecting the Floor Nozzle
Now, let’s attach the business end – the floor nozzle. This is the part that glides across your carpets and hard floors. On the other end of the wand (or directly to the main unit, depending on your model), you’ll find another connection point. Similar to the wand, the floor nozzle usually has a specific shape that fits into this port. Line it up and push it in until you hear that satisfying ‘click’ sound. This ensures there are no air leaks, which can affect your vacuum’s power.
What If There’s No Click?
If you don’t hear a click, don’t panic! Double-check that you’re pushing the parts together in the correct orientation. Sometimes, there’s a specific tab or groove that needs to align. If you’re still having trouble, consult your manual. It will have a visual guide for your specific model. Often, a firm, even pressure is all that’s needed.
Assembling Vacuum Cleaner Attachments and Hoses
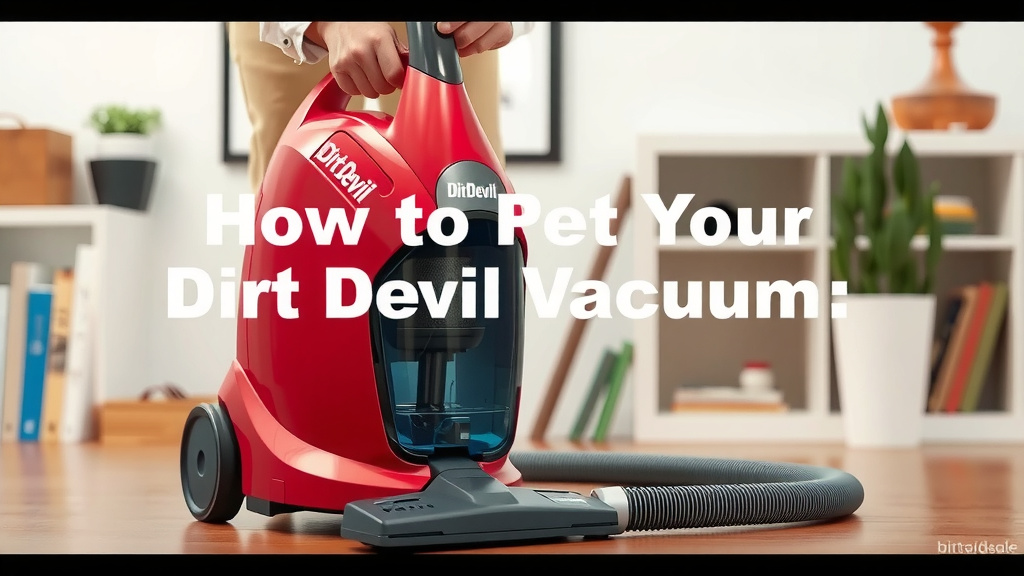
Some Dirt Devil models come with a flexible hose or additional cleaning attachments. These are perfect for reaching tricky spots like stairs, upholstery, or tight corners. Assembling these is typically just as straightforward.
Attaching the Hose
If your vacuum has a hose, you’ll need to connect it to the main body or the wand. Find the designated hose port. It might have a locking mechanism or a simple push-fit design. Slide the hose end into the port until it feels snug or clicks into place. The manual is your best friend here, as hose attachments can vary between models. Ensuring the hose is properly attached prevents air from escaping and losing precious suction power. We found that a loose hose can significantly impact performance.
Connecting Tools to the Wand or Hose
Your Dirt Devil likely came with specialized tools, like a crevice tool for narrow spaces or a dusting brush for delicate surfaces. These usually attach to the end of the wand or directly to the hose. They are designed to slide on easily. Push the tool firmly onto the end of the wand or hose until it feels secure. There’s usually no ‘click’ for these smaller attachments, but they shouldn’t be loose enough to fall off during use.
Final Checks Before You Begin Cleaning
You’re almost there! Before you plug in and power up, it’s a good idea to do a quick once-over. This ensures everything is securely connected and your Dirt Devil is ready for its cleaning debut.
Wiggle Test
Gently tug on each connected part – the wand, the floor nozzle, and any attached tools. Do they feel loose? If so, disconnect and reattach them, ensuring you get that secure ‘click’ or a firm fit. A stable connection means better performance and prevents parts from flying off mid-clean. Imagine trying to vacuum with a wobbly wand – not ideal!
Dustbin and Filter Check
Make sure the dustbin is properly seated in the main unit. It should lock into place securely. Many Dirt Devil models also have a pre-motor or post-motor filter. While you typically don’t need to assemble these, it’s a good time to check they are present and correctly installed. A missing or improperly placed filter can affect airflow and your vacuum’s efficiency. Clean filters are also key for optimal performance, according to many cleaning experts (Good Housekeeping).
Here’s a quick checklist to ensure you’re ready to go:
- All main parts (wand, nozzle) are firmly attached.
- You heard a ‘click’ where parts connect.
- Hose (if applicable) is securely fitted.
- Attachments are snug on the wand or hose.
- Dustbin is correctly in place.
- Filters are properly installed.
With these simple steps, your Dirt Devil vacuum cleaner should be fully assembled and ready to make your home sparkle. Happy cleaning!
Conclusion
You’ve successfully navigated the assembly of your Dirt Devil vacuum! We’ve shown you how to unpack, connect the main parts with that reassuring ‘click’, and attach any helpful tools. Remember, most Dirt Devil vacuums are designed for simplicity, so if you encountered any snags, a quick look at your manual or re-aligning the parts usually does the trick. Your vacuum is now ready to make your cleaning routine much easier. Now that it’s assembled, go ahead and plug it in for its first powerful clean!
Frequently Asked Questions
What if my Dirt Devil vacuum parts don’t click together?
Don’t worry if you don’t hear a click right away. First, ensure you have the correct parts aligned and are pushing them firmly in the right direction. Sometimes, a slight adjustment or re-positioning is all it takes. If you’re still having trouble, check your user manual for a visual guide specific to your model.
Do I need any tools to assemble my Dirt Devil vacuum?
In most cases, you won’t need any tools to assemble your Dirt Devil vacuum cleaner. The brand designs them for easy, tool-free assembly. You’ll typically just push parts together until they securely click into place, making setup quick and convenient.
How do I know if the dustbin is attached correctly?
The dustbin should fit snugly into the main unit and usually has a locking mechanism or a secure slot. You should feel it seat firmly and sometimes hear a click when it’s properly in place. Give it a gentle tug to ensure it’s secure and won’t fall out during operation.
Can I use my Dirt Devil vacuum if the hose feels a bit loose?
We don’t recommend using your vacuum if the hose feels loose. A secure connection is vital for maintaining proper suction power. If the hose isn’t fitting tightly, check for any debris in the port and ensure it’s pushed all the way in until it feels snug or clicks into place.
What should I do if a part feels wobbly after assembly?
If any part of your assembled Dirt Devil vacuum feels wobbly, it’s best to disassemble and reassemble it. Gently tug on the wand and floor nozzle to test their security. Ensure you’ve aligned the parts correctly and pushed them firmly until they click or seat properly. This ensures optimal performance and prevents parts from becoming dislodged during cleaning.