Stackable Washer Dryer Space Needs: A 2026 Guide
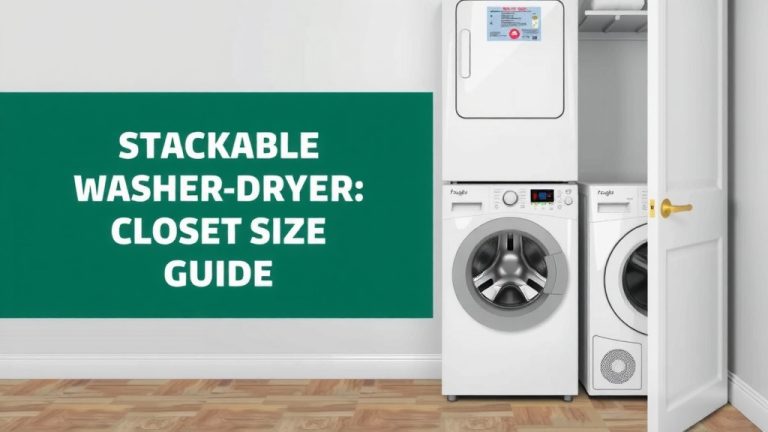
Figuring out how much space you need for a stackable washer and dryer involves a few key measurements, typically ranging from 27 to 30 inches wide and 28 to 35 inches deep. You also need to consider the height, which can go up to 70 inches or more when stacked. Getting these dimensions right ensures your laundry pair fits perfectly and operates safely.
Stackable units are a smart solution for smaller homes or apartments, offering a vertical laundry solution. While they save floor space, proper clearances are still essential for ventilation and access. Many models have specific manufacturer recommendations for spacing around the units, often around 1 inch on the sides and 4 inches in the back.
- Stackable units usually need 27-30 inches in width.
- Depth can range from 28-35 inches, plus door swing.
- Stacked height can reach over 70 inches.
- Check manufacturer specs for required clearances.
- Ventilation and access are key for proper function.
Let’s walk through exactly what you need to measure and consider to make sure your stackable washer and dryer setup is just right.
Measuring for Your Stackable Laundry Set
So, you’re looking to save some floor space with a stackable washer and dryer? That’s a fantastic idea for apartments or smaller homes! But before you hit ‘buy’, let’s talk about making sure it actually fits. Getting the dimensions right is key. We’re going to walk through what you absolutely need to measure. You want your laundry happy, and you want to avoid that “uh oh” moment when it arrives.
Understanding the Footprint: Width and Depth
Most stackable washer and dryer units are designed to fit into standard alcoves. We’ve found that the typical width for these units hovers around 27 to 30 inches. This is pretty standard across most brands. Think of it like buying a suit; you need the right size off the rack.
The depth is where things can vary a bit more. You’re generally looking at a depth of about 28 to 35 inches for the machines themselves. But, don’t forget about the doors! You need space for the washer door and the dryer door to open fully. This adds extra inches you must account for. We recommend measuring at least 3 to 6 inches of clearance for the doors.
Cabinet vs. Alcove Installation
Are you placing your stackable unit in a dedicated laundry closet or alcove? If so, measure the width and depth of that opening carefully. Make sure to measure from wall to wall, and from the back of the opening to the front. This gives you the maximum available space.
If you’re building a custom cabinet for your stackable pair, you have more control. You can design the cabinet around the specific dimensions of the units you choose. This is a great way to ensure a perfect fit and a clean look. Just remember to add that extra depth for door swings. You wouldn’t want to be playing peek-a-boo with your laundry!
The Vertical Challenge: Height Considerations
When you stack a washer and dryer, the height becomes a major factor. The combined height can easily reach 70 inches or more. This means you need to consider any overhead cabinets, shelves, or even sloped ceilings. Measure from the floor all the way up to the lowest point of obstruction.
Some people worry about reaching the controls on the upper dryer. We’ve seen many different setups, and it often comes down to personal preference and your height. If you’re on the shorter side, you might consider a model where the dryer controls are more accessible or even on the front panel.
Ceiling Clearance and Accessibility
It’s not just about the stacked height. You also need a little breathing room above the unit. Many manufacturers suggest at least a few inches of clearance for ventilation. This helps keep the machines from overheating. Think of it like giving your appliances a little personal space. They work hard, after all!
Accessibility is also important. Can you easily open the dryer door? Can you reach the detergent dispenser on the washer? These might seem like minor points now, but they make a big difference in your day-to-day laundry routine. We found that having at least 6 inches of clearance above the stacked unit is a good starting point.
Essential Clearances: Airflow and Access
Stackable washers and dryers need room to breathe! Just like you wouldn’t want to be crammed into a tiny closet all day, your appliances need adequate airflow to function efficiently and safely. This is where manufacturer recommendations become your best friend. We found that most suggest minimal clearances.
Side and Back Clearances: The Unsung Heroes
While the front of your unit is all about door swings, the sides and back are crucial for ventilation. Many experts recommend about 1 inch of clearance on each side of the stacked unit. This allows air to circulate properly. It prevents heat buildup, which can lead to performance issues or even damage over time.
The back clearance is often a bit more. We found that around 4 inches of space behind the units is a common recommendation. This space is vital for connecting water hoses, drainage, and the dryer vent. Without enough room, these connections can get kinked or bent, which is a recipe for trouble. Plus, it makes maintenance a whole lot easier!
The Dryer Venting Factor
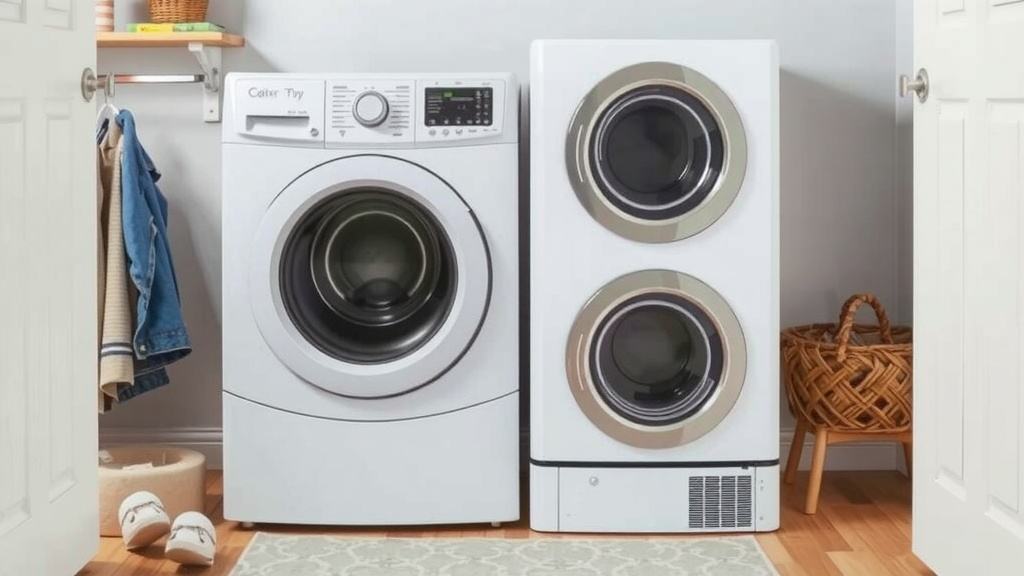
Don’t forget about your dryer vent! This is a critical component for any dryer, stackable or not. The vent needs to be securely attached and relatively unobstructed. The space behind the unit allows for proper connection and a straight or gently sloped path for the air to escape. A clogged or kinked vent is not only inefficient but also a fire hazard. Research from the National Fire Protection Association (NFPA) consistently points to lint buildup as a leading cause of dryer fires.
The Practicalities: Hookups and More
Beyond just fitting the machines themselves, you need to consider how they’ll connect to your home’s utilities. This can influence where you place your stackable set and how much space you really need around them.
Water, Drain, and Power Access
Your washer needs a water supply (hot and cold) and a drain. Your dryer needs a power outlet (or gas line) and a vent. Make sure these are conveniently located and accessible within the space you’ve allocated. If your hookups aren’t in the ideal spot, you might need to factor in the cost and complexity of moving them. We found that having hookups within arm’s reach of the machines makes installation and future maintenance much simpler.
Electrical and Gas Needs
Standard washers usually plug into a regular 120-volt outlet. Dryers, however, are a different story. Electric dryers typically require a 240-volt outlet, which is different from your standard household plug. Gas dryers need a gas line hookup and a standard 120-volt outlet for the electronic controls. Double-check the power requirements for the specific models you’re considering. It’s like making sure you have the right charger for your phone – you need the correct connection!
| Measurement | Typical Range | Important Notes |
|---|---|---|
| Width | 27-30 inches | Accounts for machine width. |
| Depth | 28-35 inches (machine) + 3-6 inches (door swing) | Ensure doors can open fully. |
| Height (Stacked) | 70+ inches | Check for overhead obstructions. |
| Side Clearance | ~1 inch (each side) | For ventilation and airflow. |
| Back Clearance | ~4 inches | For hose connections and venting. |
| Ventilation Clearance | A few inches above | Helps prevent overheating. |
A Quick Checklist for Your Space
Ready to measure? Here’s a quick rundown to ensure you’ve got it all covered:
- Measure the width of your intended laundry space.
- Measure the depth, remembering to add for door swings.
- Measure the total stacked height, checking for any ceiling obstacles.
- Confirm you have side clearances for airflow.
- Ensure enough back space for hookups and venting.
- Check where your water, power, and vent connections are located.
Conclusion
Getting your stackable washer and dryer space just right is all about careful measurement and understanding appliance needs. You’ve learned that standard units fit in spaces around 27-30 inches wide, and you need to account for door swings and stacked height, often exceeding 70 inches. Don’t forget the vital clearances of about 1 inch on the sides and 4 inches in the back for airflow and hookups. With these dimensions in mind, you’re ready to confidently choose and install your space-saving laundry solution. Your next step is to grab your measuring tape and verify these numbers in your intended space!
Frequently Asked Questions
How much space do I need for the doors to open on a stackable washer and dryer?
You’ll need to account for the depth of the machines plus extra space for the doors to swing open fully. We recommend measuring at least 3 to 6 inches beyond the depth of the unit itself. This ensures you can comfortably load and unload laundry.
Can I put a stackable washer and dryer in a regular closet?
Yes, you often can, but you must measure the closet carefully first. Ensure the width, depth, and height can accommodate the stacked unit and any required clearances for ventilation and door swings. You also need to check for convenient access to water, power, and dryer vents within the closet.
What if my ceiling is slanted above where the stackable dryer will be?
If you have a slanted ceiling, you need to measure the height from the floor to the lowest point of the ceiling obstruction. This lowest point will determine the maximum stacked height your unit can reach. Ensure there’s still enough clearance above for ventilation, typically a few inches.
Do I really need space behind the stackable units if they are in a tight alcove?
Yes, you absolutely do. The space behind the units is essential for connecting water hoses, the drain, and the dryer vent securely. We found that around 4 inches is a common recommendation to prevent kinks and allow for proper airflow and maintenance.
Are there special hookups needed for a stackable dryer?
Electric stackable dryers typically require a 240-volt outlet, which is different from standard household outlets. Gas dryers need a gas line and a 120-volt outlet for their controls. Always double-check the specific power requirements for the model you choose before installation.