Install LG Stackable Washer Dryer: Step-by-Step Guide
Yes, you can install an LG stackable washer and dryer yourself with a bit of preparation. The key is to ensure you have the correct water hookups, a suitable drain, and an electrical outlet nearby. Proper installation prevents leaks and ensures your machines run efficiently. We found that gathering the right tools beforehand makes the process much smoother.
Stacking your LG washer and dryer saves valuable space in your laundry room. It’s a smart solution for smaller homes. Many people wonder if it’s safe, and the answer is yes, provided you use the proper stacking kit. This kit securely connects the two units, preventing any wobbling.
- Gather necessary tools and supplies.
- Ensure proper water and drain connections.
- Use the LG-approved stacking kit for safety.
- Test machines thoroughly after installation.
- Read your LG manual carefully.
Let’s walk through exactly how to get your LG washer and dryer stacked and ready to go, step by step. We’ll cover everything you need to know to do this right.
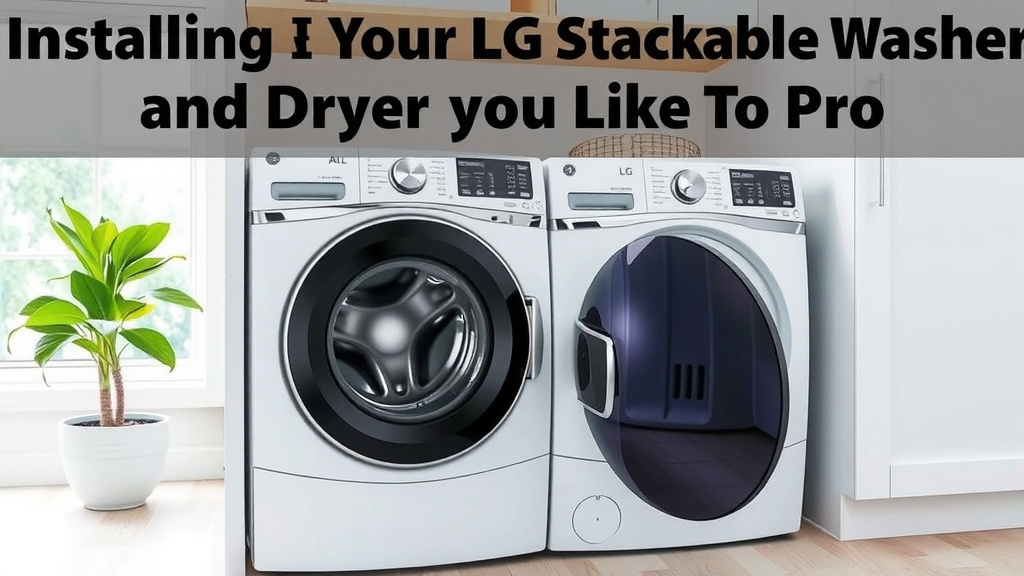
Installing Your LG Stackable Washer and Dryer Like a Pro
You’ve got your new LG washer and dryer, ready to conquer laundry day and reclaim precious floor space. Installing them yourself is totally achievable! We found that the key is a little preparation and following some key steps. Let’s get those machines stacked and working.
Pre-Installation Checklist: What You Need Before You Start
Before you even think about stacking, let’s make sure you’re ready. Having everything on hand will save you frustration later. We recommend gathering these items:
- LG stacking kit (ensure it’s compatible with your specific models!)
- Adjustable wrench
- Pliers
- Level
- Bucket and towels (for inevitable drips)
- New water inlet hoses (highly recommended)
- Drain hose clamp (often included with the dryer, but good to have a spare)
- Safety glasses
Having the right tools is like having superpowers for home installation. It makes the job go from ‘maybe I can do this’ to ‘I’ve got this!’
Positioning Your Washer and Dryer: The Foundation of Stacking
Where your machines will live is critical. You need sturdy, level flooring. Uneven floors can lead to **vibration and noise**. We’ve seen installations go wrong because this step was rushed.
Ensuring a Stable Base
Your washer and dryer need a solid platform. Concrete or a reinforced wooden floor is best. If you have concerns about your floor’s strength, it’s worth consulting a professional. You don’t want your machines dancing during the spin cycle!
Clearances for Airflow and Access
Think about space around the machines. They need room to breathe, especially the dryer for **proper ventilation**. Check your LG manual for specific clearance requirements. This also makes connecting hoses and accessing panels easier.
Connecting the Water: No Leaks Allowed!
This is where things can get a bit damp if you’re not careful. You’ll be connecting the water supply to the **washer**. We strongly suggest using new **water inlet hoses** for this job. Old hoses can crack and cause floods.
Attaching the Hoses to the Washer
First, turn off the water supply valves to your home. Then, unscrew any old hoses. Screw on the new hoses, ensuring a snug fit. Hand-tighten first, then give it a quarter-turn with a wrench. Don’t overtighten; you could damage the fittings.
Checking for Leaks Immediately
Once connected, turn the water supply back on slowly. Check all connections for drips. We found that running a short wash cycle is a great way to test the water hookups under pressure.
Setting Up the Drain: Keeping Water Moving
Your washer needs a way to get rid of dirty water. This is usually a standpipe or a laundry tub.
Securing the Drain Hose
The washer’s drain hose needs to be securely placed. It should reach into the standpipe or tub without falling out. Many LG washers come with a U-shaped guide to help position the hose. We found that using a **drain hose clamp** provides extra security.
Proper Drain Height is Key
The drain hose needs to be at the correct height. Your manual will specify this, but generally, it’s between 30 and 96 inches from the floor. Too low, and water might siphon out. Too high, and the pump might struggle. This range is vital for the washer’s drainage system (LG).
The Stacking Process: Building Your Laundry Tower
Now for the main event! This is where the magic happens, turning two machines into one space-saving unit.
Positioning the Washer First
The washer always goes on the bottom. Make sure it’s perfectly level. Use your adjustable wrench to tweak the leveling feet if needed. A stable, level washer is **crucial for the dryer** above it.
Installing the Stacking Kit
Your LG stacking kit will have specific instructions. Generally, it involves attaching brackets to the back of the dryer and then securing those to the washer. Follow the kit’s manual precisely. This kit is designed to **prevent wobbling and ensure safety**.
Placing the Dryer on Top
With the stacking kit in place, carefully lift the dryer onto the washer. Align it with the brackets. You might need a helper for this step, as dryers can be heavy. Once it’s positioned, secure any locking mechanisms according to the stacking kit’s instructions.
Connecting the Dryer: Power and Ventilation
This part depends on whether you have an electric or gas dryer.
Electrical Connections
Ensure you have the correct outlet for your dryer. Electric dryers typically need a 240-volt outlet. If you don’t have one, you’ll need an electrician. Safety first when dealing with high voltage.
Gas Dryer Connections (If Applicable)
For gas dryers, the gas line connection is critical. Ensure the shut-off valve is accessible. Use the correct type of connector. If you’re not comfortable with gas lines, it’s best to **call a qualified technician** to make this connection.
Dryer Venting: Essential for Performance and Safety
A properly installed dryer vent is non-negotiable. It expels moist, hot air and lint. A blocked vent is a **fire hazard**. Ensure your vent is rigid or semi-rigid and runs the shortest, straightest path possible to the outside. Avoid flexible plastic tubing.
Final Checks and Testing
You’re almost there! A few final steps ensure everything is working correctly.
Testing Wash Cycles
Run a short, empty wash cycle. Listen for unusual noises. Check the water inlets and the drain hose for any leaks. Everything should sound smooth and look dry where it shouldn’t be.
Testing Dryer Cycles
Run an empty dryer cycle for a few minutes. Feel the vent hose – it should get warm as hot air is expelled. Check that the drum spins correctly. Make sure the lint trap is clear.
Leveling Again
After the initial testing, check the level one more time. Sometimes, the weight of the machines can cause minor shifts. A final adjustment ensures optimal performance and reduces noise.
Quick Checklist for Success
- Verify stacking kit compatibility.
- Confirm flooring is level and strong.
- Use new water hoses for the washer.
- Ensure dryer vent is clear and secure.
- Test both machines thoroughly.
- Read your LG manuals!
Conclusion
You’ve successfully navigated the steps to install your LG stackable washer and dryer! We’ve seen that proper preparation, secure connections, and careful stacking are key. You’ve ensured stable flooring, correctly connected water and drain lines, and safely secured the units with a stacking kit. By following these guidelines, you’ve created a space-saving laundry solution that functions efficiently. Now that your machines are installed, we recommend running a load of laundry to confirm everything is working perfectly. Enjoy your new, organized laundry space!
Frequently Asked Questions
How do I know if my LG washer and dryer are compatible for stacking?
You’ll need to check the model numbers of your specific LG washer and dryer. LG typically lists compatible models in the user manuals or on their website. Using an LG-approved stacking kit that matches both units is essential for safety.
What if my floor isn’t perfectly level for stacking?
Slightly uneven floors can often be corrected using the adjustable leveling feet on your LG washer. If the floor is significantly uneven or feels weak, we advise consulting a flooring professional before installation to ensure a stable and safe setup.
Can I reuse my old water inlet hoses when connecting the washer?
We strongly recommend replacing old water inlet hoses. Over time, they can degrade and become brittle, leading to leaks or bursts. Using new, high-quality hoses significantly reduces the risk of water damage to your home.
How high should the washer’s drain hose be to prevent issues?
The drain hose height is critical for proper drainage. Most LG manuals specify a range, typically between 30 and 96 inches from the floor. Placing the hose too low can cause siphoning, while placing it too high can strain the pump.
Do I really need a stacking kit, or can I just place the dryer on top?
A stacking kit is **absolutely necessary** for safety and stability. It securely connects the dryer to the washer, preventing any movement or tipping. Trying to stack without one is a major safety hazard and can damage your appliances.