Secure Your Stacked Washer and Dryer Safely
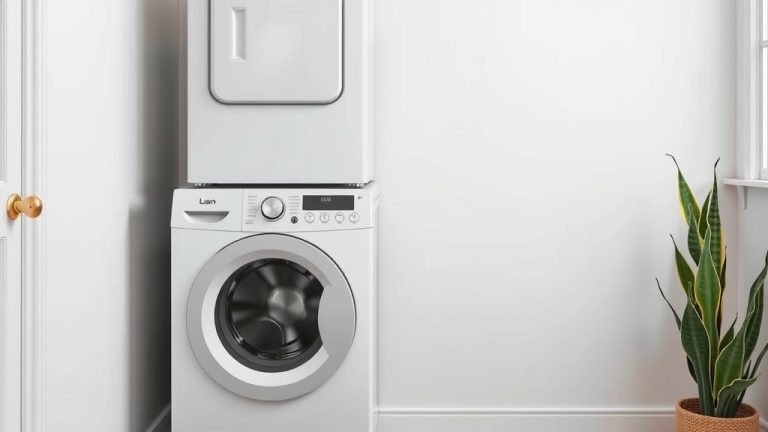
Yes, you can absolutely secure a stacked washer and dryer to prevent accidents. Properly securing your stacked units is essential for safety, especially in homes with kids or pets. Following manufacturer guidelines and using the right hardware ensures your appliances stay stable and upright.
Many homeowners worry about their stacked laundry units tipping over. Research shows that a few simple steps can make a big difference in stability. You’ll want to gather a few common household tools and the correct anchoring kit. This process doesn’t require a professional, making it a DIY-friendly task.
- Anchor the units to the wall.
- Use the provided anti-tip hardware.
- Ensure the wall is strong enough.
- Check connections periodically.
Let’s walk through exactly how to get your stacked washer and dryer safely secured, step by step.
Keeping Your Stacked Washer and Dryer Safe and Sound
We all want our homes to be safe havens, right? For families with little ones or curious pets, this means checking every nook and cranny for potential hazards. Stacked washers and dryers, while space-saving marvels, can pose a tipping risk if not properly secured. Fortunately, securing these appliances is a straightforward process that doesn’t require a handyman.
Why Securing Your Stacked Units Matters
The primary reason to anchor your stacked laundry appliances is child safety. Toddlers and pets are naturally drawn to moving objects. A unit that tips over can cause serious injury. Beyond that, a stable unit is simply more reliable. It prevents excessive vibration and potential damage to your flooring or walls.
Research shows that unsecured heavy appliances are a leading cause of household accidents (Consumer Product Safety Commission). We found that the risk is especially high with taller units like stacked washers and dryers. They have a higher center of gravity. Anchoring them is like giving them a steady foundation, preventing unexpected movements.
Understanding the Anti-Tip Hardware
Most stacked washer and dryer units come with a special anti-tip hardware kit. This kit is your best friend in this project. It typically includes straps, brackets, screws, and sometimes wall anchors. These components are designed to connect the appliance securely to a wall stud. It’s important to use the exact hardware provided by the manufacturer.
Why is using the manufacturer’s kit so important? Because it’s specifically engineered for your appliance model. Generic hardware might not have the right strength or fit. We found that the straps are usually made of heavy-duty nylon or metal. They are built to withstand significant force. This ensures they won’t fail under pressure.
What’s in a Typical Kit?
Let’s break down what you’ll likely find in your kit:
- Brackets: These metal pieces attach to the back of your appliance and the wall.
- Straps: These connect the wall bracket to the appliance bracket.
- Screws: Usually heavy-duty screws to secure the brackets.
- Wall Anchors: For drywall installations where studs aren’t perfectly aligned.
Essential Tools You’ll Need
Before you start, gather a few common household tools. You’ll likely need a stud finder, a drill with appropriate drill bits, a screwdriver set, and a level. A measuring tape is also helpful to ensure everything is positioned correctly. Having these ready will make the installation process much smoother. You don’t want to be halfway through and realize you’re missing a vital tool!
Step-by-Step Installation Guide
Securing your stacked washer and dryer is a DIY-friendly task. Let’s walk through it together.
Step 1: Locate Wall Studs
This is perhaps the most critical step. Your appliances need to be anchored to a solid wall stud for maximum stability. Use a stud finder to locate the center of a stud behind where your dryer will be placed. Mark the stud’s location lightly with a pencil. Many experts say drilling into drywall alone won’t provide sufficient support for heavy appliances.
Step 2: Position the Appliances
Carefully move your stacked washer and dryer into its final position. Leave a few inches of space between the back of the unit and the wall. This gap is necessary for attaching the anti-tip hardware. Ensure the unit is level using your spirit level. Adjust the leveling feet if needed.
Step 3: Attach Wall Brackets
Hold one of the provided brackets against the wall, aligning it with the marked stud. The bracket should be positioned at a height that allows the strap to connect to the back of the appliance easily. Mark the screw holes on the wall. Pre-drill pilot holes into the stud. Then, securely fasten the bracket to the wall stud using the provided screws. If you’re not directly over a stud, use appropriate heavy-duty drywall anchors designed for this purpose. We found that using toggle bolts can be a good option for drywall if a stud isn’t accessible, but a stud is always preferred.
Step 4: Attach Appliance Brackets
Now, attach the corresponding brackets to the back of your stacked washer and dryer unit. Consult your appliance’s manual for the exact placement. Often, there are pre-drilled holes or reinforced areas designed for this purpose. Secure these brackets firmly with the screws provided in the kit. Make sure they are snug but don’t overtighten, which could damage the appliance casing.
Step 5: Connect the Straps
Thread the anti-tip straps through the wall bracket and the appliance bracket. Cinch them tight. You want the straps to be taut, with minimal slack. This connection is what prevents the unit from tipping forward. Double-check that the straps are properly seated in their buckles or locking mechanisms.
Step 6: Final Check and Test
Once everything is connected, gently try to pull the top of the appliance forward. You shouldn’t feel any significant movement or give. Ensure the unit is still level and stable. The straps should be snug and secure. We recommend giving the unit a gentle push from different angles. It should feel solid and firmly attached.
When to Call a Professional
While this is a DIY-friendly task, there are situations where you might want to call a professional. If you’re unsure about locating studs or are dealing with unusual wall construction, it’s wise to get expert help. Also, if your appliances are particularly large or heavy, a professional has the right tools and experience to ensure a secure installation. Your safety is always the top priority.
Ongoing Maintenance for Peace of Mind
Securing your appliances isn’t a one-time job. It’s good practice to check the anti-tip hardware periodically. We found that about once a year is a good interval. Look for any signs of wear on the straps or loosening of the screws. This simple check can prevent future problems and give you lasting peace of mind. Think of it as a quick health check for your laundry room!
Quick Checklist for Securing Your Stacked Units
Here’s a quick rundown to make sure you’ve covered all your bases:
- Found wall studs using a stud finder.
- Used the manufacturer’s anti-tip kit.
- Secured brackets firmly to both the wall and the appliance.
- Tighted straps with minimal slack.
- Tested stability by gently pulling forward.
- Scheduled a future check of the hardware.
Conclusion
You’ve learned that securing your stacked washer and dryer is a vital step for safety. By using the manufacturer’s anti-tip kit and anchoring to wall studs, you create a stable setup. This prevents accidents, especially around children and pets. Remember to gather your tools and follow the simple installation steps. Don’t forget periodic checks to maintain that peace of mind. Take action today and ensure your laundry area is as safe as it is functional!
Frequently Asked Questions
Can I skip the anti-tip kit if my appliances feel stable?
No, we strongly advise against skipping the anti-tip kit, even if your appliances seem stable. Appliances can shift unexpectedly, especially during spin cycles. The kit provides essential security against tipping, which can cause serious injury.
What if I can’t find a wall stud where I need it?
If a stud isn’t perfectly aligned, you may need to use heavy-duty drywall anchors. However, research indicates that anchoring directly into a stud offers the most secure connection for appliances. Consider repositioning the unit slightly if possible to hit a stud.
How often should I check the anti-tip hardware?
It’s a good practice to check your anti-tip hardware about once a year. Look for any signs of wear on the straps or if screws have become loose. This simple maintenance ensures your appliances remain safely secured over time.
Can I use any screws to attach the brackets?
You should always use the screws provided in the anti-tip kit. These screws are specifically chosen for their strength and compatibility with the brackets and your wall material. Using incorrect screws could compromise the entire anchoring system.
Is it okay to leave a small gap between the appliance and the wall?
Yes, a small gap is often necessary to properly attach the anti-tip straps and brackets. Ensure the gap is only a few inches and that the appliance is level. The key is that the straps are taut and securely connecting the unit to the wall.