The 6 Best Adhesive for Tub Surround [In 2026]
Are you struggling to find the perfect adhesive for your tub surround project? Look no further! Choosing the right adhesive can make the difference between a professional-looking installation and a DIY disaster. In this comprehensive guide, we’ll walk you through the top 6 adhesives that will help you create a watertight, long-lasting tub surround.
When it comes to bathroom renovations, the humble adhesive plays a crucial role that often goes unnoticed. A good tub surround adhesive does more than just stick surfaces together – it creates a waterproof barrier, prevents mold and mildew, and ensures your bathroom stays looking fresh and clean for years to come.
Comparison Table For The: 6 Best Adhesive for Tub Surround
| Product Name | Price | Volume | Key Features | Best For | Material Compatibility | Cure Time |
| LN-715 Tub Surround Adhesive | Check Price | 10 oz | Low VOC, Heat & Steam Resistant | Polystyrene, Plastic, Fiberglass | Ceramic, Plastic, Acrylic | 48 hours |
| Heavy Duty Construction Adhesive | Check Price | 9 oz | Fast Grab, Water-Resistant | Multiple surface types | Wood, Drywall, Ceramic, Tile | 24 hours |
| Polyseamseal Tub & Tile Adhesive Caulk | Check Price | 5.5 oz | Mold & Mildew Resistant | Bathroom & Kitchen Sealing | Ceramic, Porcelain, Glass, Fiberglass, Wood, Plastics | 24 hours |
| Polyseamseal White Tub and Tile Sealant | Check Price | 5.5 oz | Seamless White Finish | Tub and Tile Sealing | Tub, Tile, Bathroom Surfaces | 24 hours |
| Power Grab White Tub Surround Adhesive | Check Price | 10 oz | Ultra Low VOC | Bathroom & Shower Enclosures | Plastic, Wood, Ceramic, PVC, Acrylic | 24 hours |
| White Caulk Tape Waterproof Sealant | Check Price | 10.5 ft | Self-Adhesive Strip | Multiple Surface Sealing | Wall, Tile, Glass, Metal, Plastic, Ceramic, Wood | Instant |
Why Choosing the Right Adhesive Matters
Imagine spending hours installing a beautiful tub surround, only to find water seeping through the edges or the materials coming loose after a few months. Nightmare scenario, right? The right adhesive is your first line of defense against water damage, mold, and costly repairs.
Key Factors to Consider When Selecting a Tub Surround Adhesive
Waterproofing Capabilities
Water is the number one enemy of bathroom installations. Your adhesive should create a tight, impenetrable seal that keeps moisture at bay. Look for products specifically designed to resist water, humidity, and steam.
Material Compatibility
Not all adhesives work with all materials. Whether you’re working with acrylic, fiberglass, ceramic, or plastic, you need an adhesive that bonds strongly with your specific tub surround material.
Ease of Application
Let’s face it – not everyone is a professional contractor. The best adhesives are user-friendly, with clear instructions and forgiving application processes that allow for minor adjustments.
Top 6 Adhesives for Tub Surround Reviews
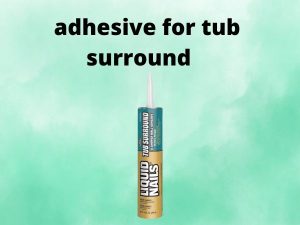
Liquid Nails LN-715 Tub Surround Adhesive
Pros
- Exceptional waterproofing
- Heat and steam resistant
- Works great on various materials including polystyrene, plastic, and fiberglass
- Light color won’t show through
- Covers up to 32 linear feet
Cons
- Takes time to dry completely
- Requires careful application
Gorilla Heavy Duty Construction Adhesive
Pros
- Extremely versatile
- Water-resistant
- Fast grab (sets in 30 seconds)
- Paintable and flexible
- Low odor and VOC compliant
Cons
- Quick setting time can be challenging
- Difficult to clean if misapplied
Loctite Polyseamseal Tub & Tile Adhesive Caulk
Pros
- Fights mold and mildew
- Excellent adhesion to multiple surfaces
- Permanently flexible
- Low odor and non-flammable
- Great for various applications
Cons
- Smaller tube size compared to some competitors
- Requires careful application technique
Loctite Polyseamseal White Tub and Tile Sealant
Pros
- Strong, watertight seal
- Blends seamlessly with white surfaces
- Easy application
- Quick-drying
- No powerful odors
Cons
- Limited color options
- May require multiple applications for complete coverage
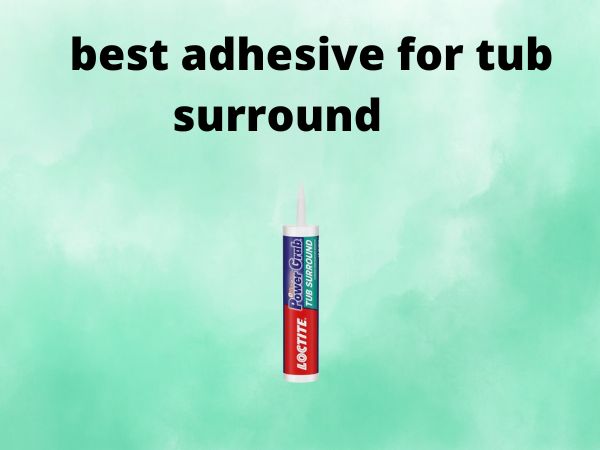
Loctite Power Grab White Tub Surround Adhesive
Pros
- Specifically designed for bathroom and shower enclosures
- Bonds multiple materials
- Ultra-low VOC content
- Easy water cleanup
- Immediate strong grab
Cons
- Manufactured in China (may be a concern for some)
- Requires precise application
White Caulk Tape Waterproof Self-Adhesive Sealant
Pros
- Easy to use and trim
- Flexible and cuttable
- Works on multiple surfaces
- Self-adhesive
- Ideal for various home applications
Cons
- May not be as durable as liquid adhesives
- Limited to specific types of sealing
How to Properly Apply Tub Surround Adhesive
Preparation Steps
- Clean surfaces thoroughly
- Ensure surfaces are dry and free from old adhesive
- Check material compatibility
- Gather necessary tools
Application Techniques
- Apply adhesive in a consistent, even manner
- Follow manufacturer’s instructions carefully
- Allow adequate drying time
- Use protective gear like gloves and eye protection
Maintenance and Care
Regular maintenance can extend the life of your tub surround and adhesive:
- Clean regularly with non-abrasive cleaners
- Check for signs of wear or water damage
- Reapply sealant as needed
- Avoid harsh chemicals that might degrade the adhesive
Frequently Asked Questions
- How long does a typical tub surround adhesive take to dry?
Most adhesives take between 24-72 hours to fully cure, but always check the manufacturer’s specific instructions.
- Can I use these adhesives on all types of tub surrounds?
Not all adhesives work with every material. Always check the product specifications for material compatibility.
- How often should I replace the adhesive in my tub surround?
With proper application and maintenance, a good adhesive can last several years. However, inspect annually for any signs of wear or water damage.
- Are these adhesives toxic?
Most modern adhesives are low-VOC and designed to be safer. However, always work in a well-ventilated area and follow safety instructions.
- Can I apply these adhesives myself, or do I need a professional?
Many of these products are DIY-friendly. If you’re comfortable with home improvement projects and follow instructions carefully, you can likely handle the application yourself.
Conclusion
Choosing the right adhesive for your tub surround is more than just a technical decision – it’s about creating a space that’s beautiful, functional, and built to last. Each of these six adhesives brings something unique to the table, so consider your specific needs and choose wisely.