Unstack Washer Dryer: Step-by-Step with Stacking Kit
Ready to ditch that laundry pile and reclaim some floor space? Unstacking your washer and dryer with a stacking kit is totally doable. You’ll want to start by disconnecting everything and ensuring the machines are empty. This process is often simpler than you might think.
When you’re ready to separate your laundry units, the stacking kit is the key. This hardware is designed to safely secure them together. Think of it as a helpful bracket system. Properly removing it means the machines can be handled individually.
- Gather your tools before you start.
- Ensure both machines are completely empty.
- Disconnect all hoses and power cords.
- Carefully remove the stacking kit hardware.
- Separate the units gently.
Let’s walk through exactly how to unstack your washer and dryer, step by step, so you can get this done safely and efficiently.
Separating Your Stacked Washer and Dryer Safely
You’re ready to unstack your washer and dryer. It’s a straightforward process. You’ll want to be sure you have the right tools handy. This makes the job much easier. We’ll guide you through each step. You’ll have your machines separated in no time.
Preparing Your Laundry Machines for Separation
Before you even think about touching that stacking kit, let’s get the machines ready. This is the most important part for safety. We need to make sure everything is disconnected and the units are empty. Think of it like prepping for a move; you don’t want anything left behind.
Ensuring Both Machines Are Completely Empty
First things first, open up both the washer and dryer doors. Double-check for any stray socks or forgotten towels. A machine full of clothes can be surprisingly heavy. It’s an unnecessary complication. Emptying them ensures you’re only dealing with the weight of the appliances themselves.
Disconnecting Power and Water Lines
This is a critical safety step. You’ll need to unplug both machines from the wall outlet. For the washer, locate the water hoses. These are usually connected to your home’s water supply valves. Turn off the water valves first. Then, carefully unscrew the hoses. Keep a bucket or towel handy for any residual water. Don’t forget to disconnect the dryer vent hose too. This is often a flexible duct attached to the back of the dryer.
Tools You’ll Need for the Job
Gathering your tools beforehand saves a lot of frustration. You’ll likely need a screwdriver, possibly a nut driver or socket set, and maybe a utility knife. The exact tools depend on your specific stacking kit model. Many kits use standard screws or bolts. It’s always a good idea to have a few different sizes on hand, just in case. A flashlight can be helpful too. Sometimes the connection points are in dim areas.
Understanding Your Stacking Kit
Stacking kits are designed to keep your washer and dryer securely connected. They prevent the top unit from tipping over. Most kits consist of a few metal brackets and screws or bolts. Some kits might have a strap or a pan underneath. The goal is always to ensure stability. We need to reverse the installation process to separate them.
Locating the Stacking Kit Hardware
The stacking kit is typically found where the two machines meet. It’s often on the sides or the back. You might need to look closely. Some kits are very low-profile. Others are more visible. Gently slide your hand between the units to feel for any metal pieces. These are your connection points. You’re looking for screws or bolts that join the washer to the dryer.
Removing the Stacking Kit Brackets or Straps
Once you’ve located the hardware, it’s time to remove it. If you have screws, use the appropriate screwdriver or nut driver. You’ll likely need to remove screws on both sides, or possibly just a few key points. If your kit uses a strap, there might be a buckle or a screw holding it in place. Take your time here. Don’t force anything. If a screw seems stuck, a little penetrating oil might help, but this is rare for stacking kits. Many experts suggest working slowly to avoid stripping screws (Appliance Repair Guide).
Dealing with Different Stacking Kit Types
There are a few common types of stacking kits. Some use simple L-shaped brackets that screw into both units. Others might use a more integrated frame. Some newer models have a quick-release mechanism. If you have a universal kit, it might use metal straps that loop around the appliances. Regardless of the type, the principle is the same: undo the connections. Always refer to the manufacturer’s manual if you’re unsure about your specific kit.
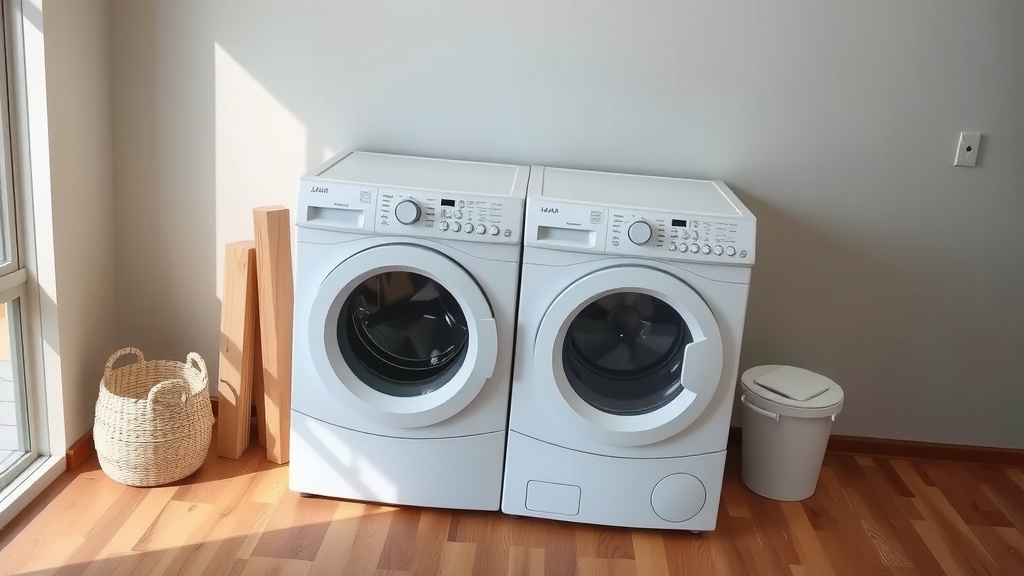
Separating the Washer and Dryer Units
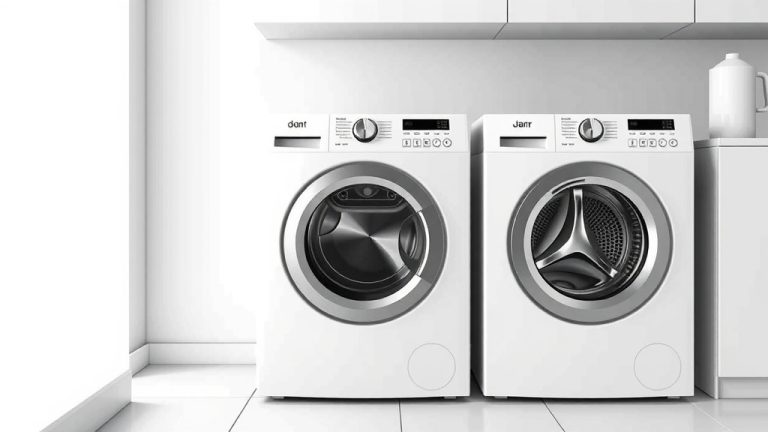
With the stacking kit hardware removed, the machines are no longer physically attached. However, they might still be a bit snug against each other. Gravity and a tight fit can sometimes keep them close. Gentle wiggling is usually all that’s needed.
Gently Pulling the Units Apart
This is where you can finally separate them. Start by trying to pull the dryer (the top unit) forward and away from the washer. You might need to push slightly on the washer to help it slide back. It’s best to have a helper for this step. Lifting the dryer straight up and off can also work if the kit allowed for that. Be mindful of the floor. You don’t want to scratch it.
Assessing the Weight and Maneuvering
Washers and dryers are heavy appliances. Don’t try to lift them alone if you can avoid it. A helper makes this much easier and safer. Ensure you have a clear path to move the machines once they are separated. You’ll need space to place them side-by-side or move them to their new locations. Bend your knees and lift with your legs, not your back. Many sources emphasize proper lifting techniques to prevent injury (OSHA).
A Quick Checklist for Unstacking
To make sure you haven’t missed anything, here’s a quick rundown:
- Confirm both washer and dryer are completely empty.
- Disconnect the power cords from the wall.
- Turn off water valves and disconnect washer hoses.
- Disconnect the dryer vent hose.
- Locate and remove all screws, bolts, or straps from the stacking kit.
- Gently separate the dryer from the washer.
Conclusion
You’ve successfully navigated the steps to unstack your washer and dryer. Remember, preparation is key: empty machines, disconnected utilities, and the right tools make the job smooth. You’ve learned to identify and safely remove the stacking kit hardware. Separating the units gently, with a helper if needed, ensures no damage to your appliances or your floors. Now you have your machines ready for new placement or storage. Take a moment to appreciate the reclaimed space and a job well done!
Frequently Asked Questions
What if my stacking kit screws are stuck?
If screws seem stuck, avoid forcing them to prevent stripping. Try using a penetrating oil and let it sit for a few minutes. Gently tapping the screwdriver with a hammer while applying pressure can also help break them loose. If they still won’t budge, consider calling a professional appliance repair technician.
Can I unstack my washer and dryer by myself?
While it’s technically possible, unstacking a washer and dryer alone is strongly discouraged. Appliances are heavy and awkward, increasing the risk of injury or damage to your machines and home. Having a second person, or even a dolly, is highly recommended for safe separation and maneuvering.
Will unstacking damage my washer or dryer?
When done carefully and following these steps, unstacking should not damage your appliances. The main risks come from rushing, not disconnecting utilities properly, or trying to force components. Always refer to your appliance and stacking kit manuals for specific instructions related to your models.
What if I can’t find my stacking kit manual?
If you’ve lost the manual for your stacking kit, your best bet is to search online for it using the kit’s brand name and model number. You can usually find this information on the kit itself or on the appliance manufacturer’s website. Many appliance manuals also detail the stacking kit installation and removal.
Is it safe to store the appliances separately after unstacking?
Yes, it’s perfectly safe to store your washer and dryer separately once they’re unstacked and all connections are properly disconnected. Ensure they are in a dry area, away from extreme temperatures. For long-term storage, you might consider covering them to protect them from dust.