
Install a Soft Start on Your AC: A Step-by-Step Guide
Installing a soft start on your air conditioner is a smart move to protect your system and your wallet. A soft starter smooths out the initial power surge when your AC kicks on, reducing wear and tear. This means your air conditioner will likely last longer and run more efficiently.
Many homeowners find that adding a soft start can prevent nuisance trips of circuit breakers. It’s a relatively simple upgrade that many DIYers can tackle. You’ll notice a quieter startup and a potential decrease in your electricity bills by preventing those large initial power demands. It’s a win-win for your home’s comfort and your system’s longevity.
- A soft start reduces the initial power surge for your AC.
- This protects your air conditioner’s motor and compressor.
- It helps prevent tripped circuit breakers.
- You’ll often notice a quieter startup sound.
- It can lead to longer system life and energy savings.
Ready to give your air conditioner a smoother start? Let’s walk through exactly how to install a soft start step by step.
Upgrading Your AC: How to Install a Soft Start
Adding a soft start to your air conditioner is a great way to protect your investment. You’re essentially giving your AC a gentler wake-up call. This prevents the jarring power spike that normally happens when it turns on. We’ll walk you through the process step-by-step. You can tackle this yourself with some basic tools and care.
Gathering Your Tools and Supplies
Before you begin, make sure you have everything ready. This makes the installation go much smoother. You don’t want to be halfway through and realize you’re missing a key item. Think of it like preparing ingredients before cooking a meal.
Essential Tools You’ll Need
- Screwdrivers: A Phillips head and a flathead are usually necessary.
- Wire Strippers/Cutters: For preparing the wires.
- Pliers: Needle-nose pliers can be helpful for tight spaces.
- Voltage Tester: A non-contact voltage tester is vital for safety.
- Wire Nuts: To secure connections.
- Your Soft Start Kit: Make sure it’s compatible with your AC unit’s specifications.
Understanding Your Soft Start Kit
Every soft start kit comes with instructions. We highly recommend reading them thoroughly. They often have diagrams specific to your model. Most kits include the soft start module itself and wiring. Some might also have mounting hardware.
Safety First: Turning Off Power
This is the most important step. You must completely cut power to the air conditioner. Working with live electrical wires can be dangerous. We don’t want any accidents!
Locating Your Air Conditioner’s Breaker
Go to your home’s main electrical panel. Find the breaker that controls your air conditioning unit. It’s often labeled “AC,” “Air Handler,” or “Condenser.” If you’re unsure, you can flip breakers off one by one until your AC stops running. Some homes have two breakers for the AC – one for the indoor unit and one for the outdoor unit. Turn them both off if applicable.
Confirming Power is Off
After flipping the breaker, use your voltage tester. Go to the disconnect box for your outdoor AC unit. This is usually a metal box near the condenser. Open it and touch the tester to the wires where they connect to the unit. The tester should show no power. Then, go to your indoor air handler and check the wires there as well. Double-check; safety is paramount.
Accessing Your Air Conditioner’s Electrical Components
Now you can safely open up the unit. You’ll need to access the control board or wiring area. This is where the soft start will be installed.
Opening the Outdoor Condenser Unit
Typically, there’s a panel on the side of your outdoor unit. You’ll need to remove screws to open this panel. Set the screws aside carefully. You’ll need them later to reassemble the unit.
Identifying the Compressor and Control Wires
Inside the unit, you’ll see various wires and components. You are looking for the wires that go to the compressor. This is the heart of your AC system. The soft start module will be wired in series with the compressor’s power supply. Your soft start kit’s instructions will show you exactly which wires to target. They are usually thicker wires.
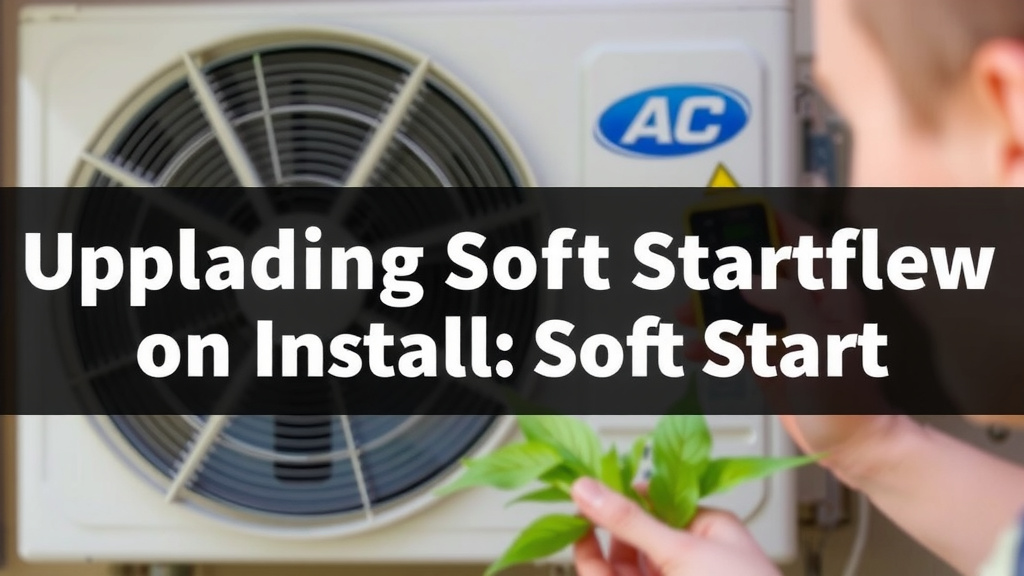
Wiring in the Soft Start Module
This is the core of the installation. Follow your kit’s instructions precisely. We found that most soft start kits have color-coded wires or clear labels.
Connecting the Soft Start Wires
Your soft start module will have input wires and output wires. The input wires connect to the power coming into the unit. The output wires connect to the compressor. You’ll often need to cut the existing wires that go to the compressor. Then, you’ll attach the soft start’s output wires to the compressor side. The soft start’s input wires will connect to the wires that supply power from your home. Use wire nuts to make secure connections. Ensure no bare wire is exposed. Many experts recommend ensuring all connections are snug and won’t pull apart easily (HVAC Industry Standards).
Mounting the Soft Start Module
Most soft start modules are compact. They can often be mounted inside the electrical compartment of your AC unit. Some kits come with adhesive backing or small screws. Find a secure spot where it won’t rattle around or interfere with other components.
Testing Your Installation
Once everything is wired up and mounted, it’s time to test. This is where you see if it all worked!
Restoring Power to the AC Unit
Double-check all your connections. Make sure no tools or debris are left inside the unit. Secure the access panel you removed earlier. Go back to your electrical panel and flip the AC breaker(s) back on. You might want to have your voltage tester handy again, just in case.
Listening for the Soft Start Effect
Now, turn on your air conditioner from your thermostat. Listen carefully when the compressor kicks on. Instead of a loud “thump” or “clunk,” you should hear a much quieter, gradual hum. This is the soft start doing its job! Many users report that the difference is quite noticeable.
Final Checks and Considerations
A successful installation is great! But a few final steps ensure everything is perfect.
Monitoring for Proper Operation
Let your AC run for a cycle or two. Check for any unusual noises or smells. Ensure it’s cooling your home effectively. If anything seems off, turn the power off immediately and re-check your wiring. Sometimes, a loose connection can cause issues.
When to Call a Professional
While many homeowners can install a soft start, it’s not for everyone. If you’re uncomfortable with electrical work at any point, stop. You can always call a qualified HVAC technician. They have the expertise and tools to do it safely and correctly. The peace of mind is often worth the cost. Many professionals recommend consulting your unit’s manual or seeking expert help if you’re unsure (Manufacturer Guidelines).
| Step | Action |
|---|---|
| 1 | Gather Tools & Soft Start Kit. |
| 2 | Turn Off Power at the breaker. |
| 3 | Confirm Power is Off with a voltage tester. |
| 4 | Access AC Unit and identify compressor wires. |
| 5 | Wire Soft Start according to instructions. |
| 6 | Restore Power and test for quiet startup. |
Conclusion
You’ve successfully learned how to install a soft start on your air conditioner. This upgrade is a smart investment for your home’s comfort and system health. By smoothing out power surges, you’re protecting your AC’s vital components and potentially extending its lifespan. You’ll likely notice a quieter startup and might even see savings on your electricity bill. If you felt comfortable with the steps, you’ve just completed a rewarding DIY project. Ready to enjoy a more efficient and durable air conditioning system? Take the next step and enjoy the benefits!
Frequently Asked Questions
Will a soft start really make my AC quieter?
Yes, a soft start is specifically designed to reduce the noise during startup. Instead of the sudden jolt and loud “thump” your AC might make, a soft start gradually ramps up the power. This results in a much quieter and smoother sound when your air conditioner begins its cooling cycle.
How do I know if my soft start kit is compatible with my AC unit?
Always check the specifications on your soft start kit and compare them to your air conditioner’s requirements. Look for details like the voltage rating and the horsepower or amperage of your AC’s compressor. Most kits will clearly state the range of AC units they are designed to work with.
What’s the biggest risk when installing a soft start myself?
The primary risk is electrical shock, which is why turning off the power is the most critical step. Improper wiring can also lead to the soft start not working correctly or potentially damaging your AC unit. If you’re ever unsure about electrical work, it’s always best to consult a qualified HVAC professional.
Can installing a soft start void my air conditioner’s warranty?
This depends on your specific AC manufacturer’s warranty terms. Some manufacturers may consider DIY electrical modifications as a reason to void the warranty. It’s a good idea to review your AC’s warranty documentation or contact the manufacturer if you have concerns about this before proceeding.
How long should it take to install a soft start?
For someone with basic DIY and electrical experience, the installation typically takes about 1 to 2 hours. This includes gathering your tools, safely shutting off power, performing the wiring, and testing the unit. If you’re new to electrical work, take your time and double-check everything to ensure safety and proper installation.

![7 Best Single Room Air Conditioner No Window [2026]](https://bathroomexplorer.com/wp-content/uploads/2026/06/7-best-single-room-air-conditioner-no-window-2026-featured-768x432.jpg)
![7 Best Quality Air Conditioner Brand [2026]](https://bathroomexplorer.com/wp-content/uploads/2026/06/7-best-quality-air-conditioner-brand-2026-featured-768x432.jpg)