Moen 3320 vs. 3330 -Which One Can Save $?
Burn injuries leave a serious footmark on emotional and physical abilities. It reduces the confidence level.
Especially children and women are bruised emotionally because of this. Do you know 95% of scald or burn injuries happen at home?
Every year 1200 US citizens need medical attention for burn injuries. And below 5 years old children and women are the most victims of that.
So, what are the reasons for that burning? There are several reasons, but water scald is one of the common reasons.
This accident happens because of the temperature fluctuation of the water faucets. We are pretty sure you or one of your family members faced this problem.
Tell us, for how long will you put them at risk? Is it not a high time to stay risk-free? Get the Moen pressure-balancing valve.
Now the question is, which valve should you choose? There are a lot of valves, and Moen 3320 and 3330 are popular.
The majority of people are confused about these products. They ask: Moen 3320 vs. 3330 valves – which one can save money and skin? We will answer the question in this article. Read out till the end.
Moen 3320 M-PACT Review:
M-pact is one of the finest innovations of Moen. The goal of this innovation is to serve a seamless installation facility.
You can replace this valve without replacing any plumbings. It indicates total cash savings. Many brands need extra equipment to install their pressure valves.
Moen avoids that hassle. They provide all the essentials with it. So, what benefits will you get from this valve?
First is the balanced water pressure. This is energy efficient: your monthly bill will reduce up to 30% for that.
Next is the temperature adjustment. It will keep the same temperature that you set at the beginning. There is no chance for the water pressure fluctuation. Your family members’ skin is safe…
Feature
- Chrome material for long time durability.
- All the equipment is original.
- Single lever for water volume adjustment.
- 4 different ports with two outlets.
- Quick temperature adjustment
Moen 3330 M-PACT Moentrol Pressure-Balancing Review:
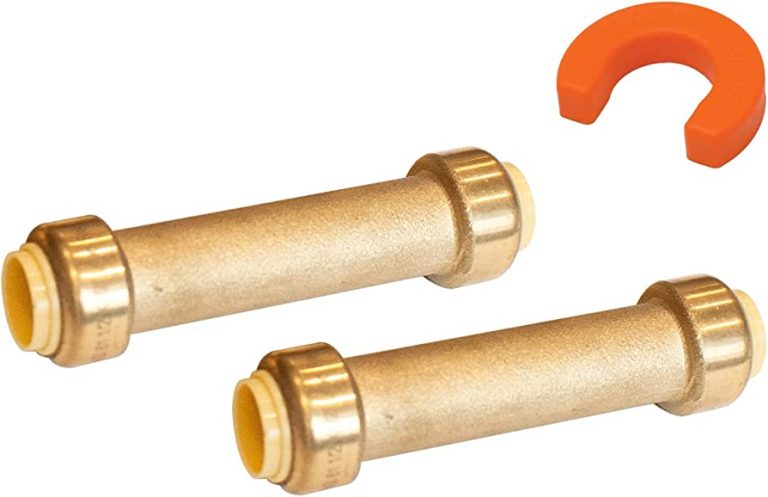
Same as the 3320. What are the major differences? We found three things. It has a copper connection: best known for leakage proof.
No more water wastage. There are no chances to enter bacteria through the leakage. The second thing is water balancing: you can simultaneously adjust the flow and temperature with a single lever.
Finally, flexibility. It is more extended. Replacing any kit was not as easy as 3330. Moen provides the instruction with the model. Just follow and change the faucet. You will know an installation guide soon in the coming chapter.
Features
- Single lever for temperature and flow adjustment.
- ½ inch cc connection.
- Sturdy construction
- A working cartridge to keep the performance steady.
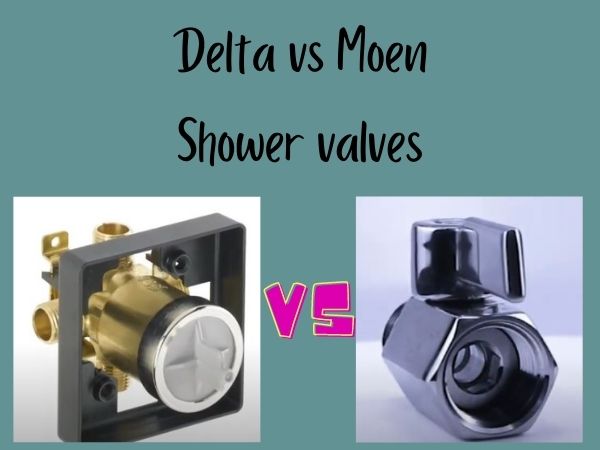
Comparison: Moen 3330 VS 3320
Both models come with the same facilities. The only difference is connection type. Moen 3330 offers a CC connection.
On the other hand, the 3320 offers an IPS connection. So, which one will be better for your shower? Moen 3320 could be the best choice for you.
The reason is for hassle-free installation. We know you will need an extra cartridge. Yet, it will ease up your further replacement.
One more thing, we are not discouraging you from going for 3330. This model is also a real saver, but the installation seems costly. However, this one-time investment can save a lot of money.
Moen 3320 and 3330 Installation Guide:
Now let’s move on to the installation guide. Moen 3320 and 3330 have the same installation method.
Just a slight difference you will notice. The difference is the Copper Connection installation. It looks more advanced. The reason is: plumbers use a propane torch to connect the pipe. It melts down the copper.
So, there is a potential risk of fire hazards. We recommend you seek professional plumber help for CC-type valve installation…
For your convenience, here is an overview of the installation. A specialized plumber instructs the guide you are going to read. If you don’t have any prior knowledge of installation, don’t try this. Just learn the process. This will help you to find the plumber’s flaws.
Professional Moen Pressure Valve Installation Guide:
1. Tool:
The following tools are professionally used to install the Moen M-pact Moentrol Valves.
- Phillips screwdriver
- Adjustable pliers
- Needle Nose pliers
- Pex tube cutter
- Adjustable wrench
- Copper tube cutter
- Crimping tool
- Thread seal tape
- Plumbers putty
- Torch
- Thermometer
- Tape measure.
- Safety glasses
- Pex plug
- Pex and copper tubings
- Lead-free solder kit
- Crimp rings
- ½ inch pex and copper slip couplings
2. Shut Off The Main Water Source:
When your tools are at your hand, shut off the water source. It will ease up your installation by avoiding water splash.
3. Drain The Residual Water:
Main water source turned off, right? Open the faucets of installing areas for a while. It will drain all the residual water.
4. Measure The Area:
Use your tape measure to select the location: the valve installation location. Measure total area, including the pipe accommodation.
This will later reduce the pipe adjusting hassle. During this measurement, don’t forget to evaluate your wall. Is it thick or thin? Find out the measurement, too: a thin wall is less than a quarter inch. But the thick wall is more than a quarter inch
5. Determine The Device:
You just measured all the areas. Now decide how many devices you will attach with the valve. If you need three devices, a few modifications are required. Here are the modifications.
- Three shower valves: you are about to install three devices here. So detach the limiter and clip from the cartridge. Use a Phillip screwdriver to remove the clip and limiter. After detaching the parts, snug the cartridge and nuts with the wrench.
- Two shower valves.: You don’t need to remove the clips and limiter from the cartridge.
6. Attaching The Valve:
Since you have measured the areas, this time, the valve attachment will be easier. Just locate the valve and start to attach. Following the attaching process:
- Cut the Pex Tube: cut the pex tube to connect the hot and cold water inlets. Use red pex tubes for hot and blue for cold. The pex tube measurement will be based on the connector length. Put some crimping rings on the two sides of pex tubes. It will tighten up the pipe.
- Attach the hot and cold inlets: Now, you will attach the valve’s hot and cold inlets with the pex tube.
- Follow the same attachment methods to install the primary shower outlets. Use the blue pex tube for that.
- When you are done with joining all the tubes, crimp all the connections. Use the crimping tool.
- Once your attachment is done, tighten the valve with a screw to fix the wall. You can use wood patterns for that.
7. Check The Water Pressure And Temperature:
Turn on the main watergate. Check for leakage by opening the showerhead and faucets. Monitor the water pressure and temperature.
Use a thermometer to check the heat. Don’t forget to fluctuate the water pressure to see whether the heat is fluctuating or not.
8. Join The Equipment:
Everything you have checked. Now fix all the parts the way you opened for installing. Use the thread seal tape to avoid leakage. You can use it for an IPS connection. For CC, it is wise to use a plumbing putty.
Note: We strongly believe your hired plumber will follow the instructions. That’s why we skipped an in-depth guide. The goal of this guide is to serve a basic idea of installation.
FAQ:
What is the IPS connection in plumbing?
Iron Pipe Size is shortly called IPS. The plumber uses this connection for thick walls. The leakage protection is decent. Plus, it is affordable. It has been used for the last few centuries.
What is the CC connection in plumbing?
Probably the most updated plumbing connection. It is pretty expensive. The reason is for installation. The copper needs to be melted with a propane torch. This process seals the leakage for a long time.
Which One Can Save $?
Moen 3320 can save your investment. Not only the investment but also the skin of your family members.
The valve may need traditional installation. But it does not fluctuate the temperature for water pressure. You will get the same pressure that you selected at the beginning.
So now you know the answer for Moen 3320 vs. 3330. If you have any further queries, feel free to comment. Don’t forget to share this with your close ones. Save skin and money!