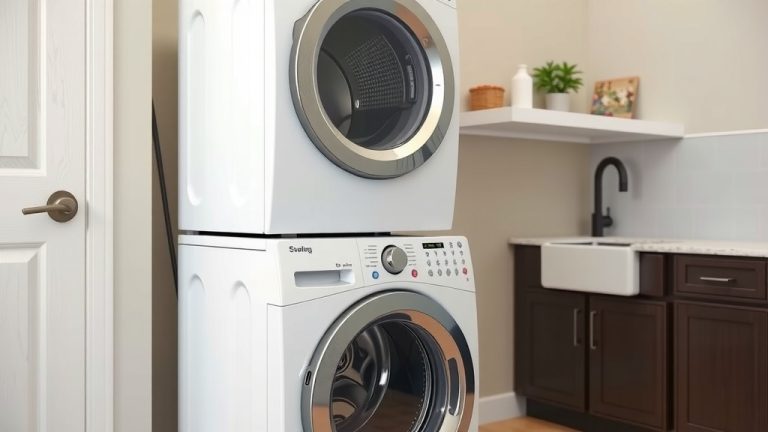
How to Connect Your Stackable Washer Dryer Easily
Connecting a stackable washer and dryer involves understanding your specific hookups and following a clear process. You’ll need to make sure your water hoses and drain are properly attached. It’s also essential to connect the dryer vent securely to prevent fire hazards. Getting this right ensures your laundry pair works efficiently and safely.
Many homeowners wonder about the best way to set up these space-saving units. Properly stacking them isn’t just about fitting them together; it’s about safe electrical and water connections. We found that many common issues arise from improperly connected dryer vents or overlooked water shut-off valves. Ensuring all connections are tight and leak-free is key for long-term performance.
- Stacking requires connecting water, drain, and electrical.
- Dryer vent connection is vital for safety and efficiency.
- Double-check all connections to prevent leaks and fire risks.
- Ensure you have the correct hookups for your model.
Ready to get your laundry room set up? Let’s walk through the steps to connect your stackable washer and dryer, making sure everything is hooked up correctly and safely.
Connecting Your Stackable Washer and Dryer: A Step-by-Step Guide
You’ve got your new stackable washer and dryer, ready to save space and tackle your laundry. Now comes the important part: hooking everything up correctly. It might seem a little daunting, but we’ve broken down the process into simple, manageable steps. Getting these connections right is key for efficient operation and preventing potential problems like leaks or dryer malfunctions.
Gathering Your Supplies and Understanding Hookups
Before you start connecting, let’s make sure you have everything you need. This isn’t just about the machines; it’s about the accessories that make them work. Having the right parts on hand will make the job go much smoother.
Essential Items You’ll Need
You’ll want to have a few things ready. Think of this as your pre-laundry checklist. Having these items will prevent frustrating trips to the hardware store mid-installation.
- Water supply hoses: Make sure they are the correct length and type for your washer. Braided stainless steel hoses are often recommended for their durability.
- Drain hose: Your washer will come with one, but check its condition.
- Dryer vent hose: This needs to be rigid or semi-rigid metal for safety. Flexible foil or plastic hoses are a fire hazard.
- Hose clamps: For securing the dryer vent hose.
- Adjustable wrenches: For tightening water connections.
- Screwdriver set: For any necessary adjustments or securing the vent.
- Level: To ensure your machines are sitting straight.
Identifying Your Hookups
Your laundry area should have specific hookups for your appliances. Take a moment to locate them. You’re looking for the water valves, drainpipe, and electrical outlets.
- Hot and Cold Water Valves: These are usually located behind the washing machine. Make sure they are clearly marked or easy to identify.
- Drainpipe: This is a vertical pipe, typically 2-4 inches in diameter, where the washing machine’s drain hose will go.
- Electrical Outlets: Washers usually need a standard 120-volt outlet. Dryers can be 120-volt (electric) or 240-volt (electric or gas). Ensure you have the correct type and amperage.
- Gas Line (if applicable): If you have a gas dryer, you’ll need a gas shut-off valve nearby. This usually requires professional installation.
Connecting the Washing Machine
The washing machine is where the water starts. Let’s get those connections made securely. A tight seal is your best friend here to avoid any messy surprises.
Water Hoses: The Lifeline of Your Washer
First, turn off the water supply valves. You don’t want a geyser erupting! Then, attach the new hoses to the back of your washing machine. One hose goes to the hot water inlet, and the other to the cold. Be sure to hand-tighten them first. Then, use a wrench to give them about a quarter to a half turn more. Don’t overtighten, as this can damage the plastic fittings.
Connecting to the Water Supply
Now, connect the other ends of the hoses to your home’s water supply valves. Again, hand-tighten first. Then, use your wrench for that final snug turn. Once both hoses are connected, slowly turn on the water valves. Check for any drips or leaks at all connection points. A small leak now can become a big problem later.
Attaching the Drain Hose
The drain hose needs to be secured properly. Most washers have a curved end on the hose. This end should be placed inside the drainpipe. Many experts recommend ensuring the hose is inserted at least 4 inches into the standpipe to prevent it from popping out during the drain cycle (CDC guidelines for appliance installation). You can use a zip tie or a specialized hose clamp to secure it to the pipe. This prevents the hose from falling out and flooding your laundry area.
Plugging In and Leveling
Once water and drain connections are secure, plug the washer into its electrical outlet. Now, use a level on top of the machine. Adjust the feet underneath until it sits perfectly flat and stable. A level machine reduces vibrations and noise, and prolongs its life.
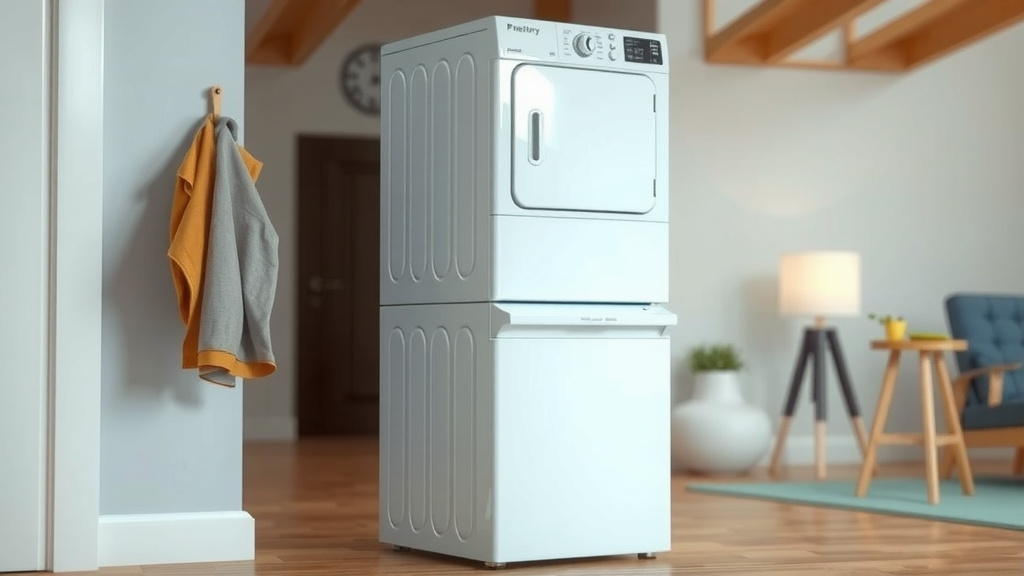
Connecting the Dryer
The dryer is next. This involves electrical (or gas) and, very importantly, the vent. The dryer vent is critical for safety and performance. A clogged vent can be a serious fire hazard.
Electrical or Gas Connection
For electric dryers: Ensure the power is off at the breaker box. Connect the dryer’s power cord to the appropriate outlet. This is typically a 240-volt outlet for electric dryers, which is different from a standard outlet. If you don’t have one, you’ll need an electrician to install it.
For gas dryers: This connection should ideally be handled by a qualified professional. Ensure the gas valve is turned off. Connect the gas line using the correct fittings. After connecting, turn the gas on slowly and check for leaks using a soapy water solution. Bubbles indicate a leak. Many safety organizations strongly recommend professional installation for gas appliances (National Fire Protection Association).
Securing the Dryer Vent Hose
This is arguably the most critical step for dryer safety. Use a rigid or semi-rigid metal vent hose. Attach one end to the back of the dryer using a hose clamp. Make sure it’s snug. Then, connect the other end to your home’s dryer vent outlet. Ensure this connection is also secure and that the vent path is as straight and short as possible. Avoid kinks and sharp bends, as these restrict airflow and can lead to lint buildup.
Testing the Vent System
Before you run a full load, it’s a good idea to test the vent. Turn the dryer on for a few minutes. You should feel a steady, strong flow of air coming from the outdoor vent. If the airflow seems weak, double-check all connections and the vent path for blockages or kinks. A well-connected vent improves drying times and energy efficiency.
Final Checks and Startup
You’re almost there! Let’s do a final review. It’s always better to be safe than sorry.
Double-Checking All Connections
Before you load your first sock, take one last look. Are all the water hoses tight? Is the drain hose secure? Is the dryer vent firmly attached? Is the electrical plug fully inserted? Did you check for gas leaks if applicable? These final inspections catch mistakes before they cause problems.
Running a Test Cycle
Run a short wash cycle on your washing machine. Watch and listen. Are there any strange noises? Any leaks from the water hoses or drain? If all seems well, proceed to run a short drying cycle. Check the vent output again. Make sure everything is working as expected. This test run gives you peace of mind that your setup is correct.
A Quick Checklist for Success
Here’s a short list to ensure you’ve covered all your bases:
- Water valves are fully open and hoses are leak-free.
- Washer drain hose is securely in the standpipe.
- Dryer vent hose is tightly clamped and not kinked.
- Electrical cords are fully plugged in and secure.
- Gas line (if applicable) is professionally connected and leak-free.
- Machines are level and stable.
Conclusion
Connecting your stackable washer and dryer correctly is key to a safe and efficient laundry setup. You’ve learned how to gather essential supplies, identify your hookups, and make secure water, drain, and vent connections. Remember, double-checking every step, especially the dryer vent, prevents costly issues and potential hazards. Taking these actions ensures your space-saving appliances perform their best. Now that you’re ready, get started on setting up your new laundry system and enjoy hassle-free laundry days!
Frequently Asked Questions
How do I know if my existing hookups are compatible with a new stackable unit?
You’ll need to verify the type and voltage of your dryer outlet (120V or 240V), the water valve types, and the diameter of your drainpipe. Most stackables use standard connections, but it’s wise to check your new unit’s manual for specific requirements.
Can I reuse the old water hoses if they look okay?
It’s generally not recommended. Old hoses can degrade over time and develop weak spots, leading to leaks. We strongly advise using new, high-quality hoses, like braided stainless steel, for both hot and cold water connections to ensure reliability.
What is the biggest mistake people make when connecting a dryer vent?
A common and dangerous mistake is using flexible foil or plastic dryer vent hoses. These materials are highly flammable and can easily ignite from dryer heat. Always opt for rigid or semi-rigid metal venting for safety.
How far should the washer’s drain hose be inserted into the standpipe?
To prevent the hose from dislodging during the spin cycle and causing water to flood your floor, insert the drain hose at least 4 inches into the standpipe. Securing it with a zip tie or clamp adds extra peace of mind.
Do I need a professional to connect my gas dryer?
While some DIYers are comfortable with gas appliance connections, we found that most safety organizations strongly recommend professional installation for gas dryers. This ensures the gas line is connected correctly and leak-free, which is vital for your safety.